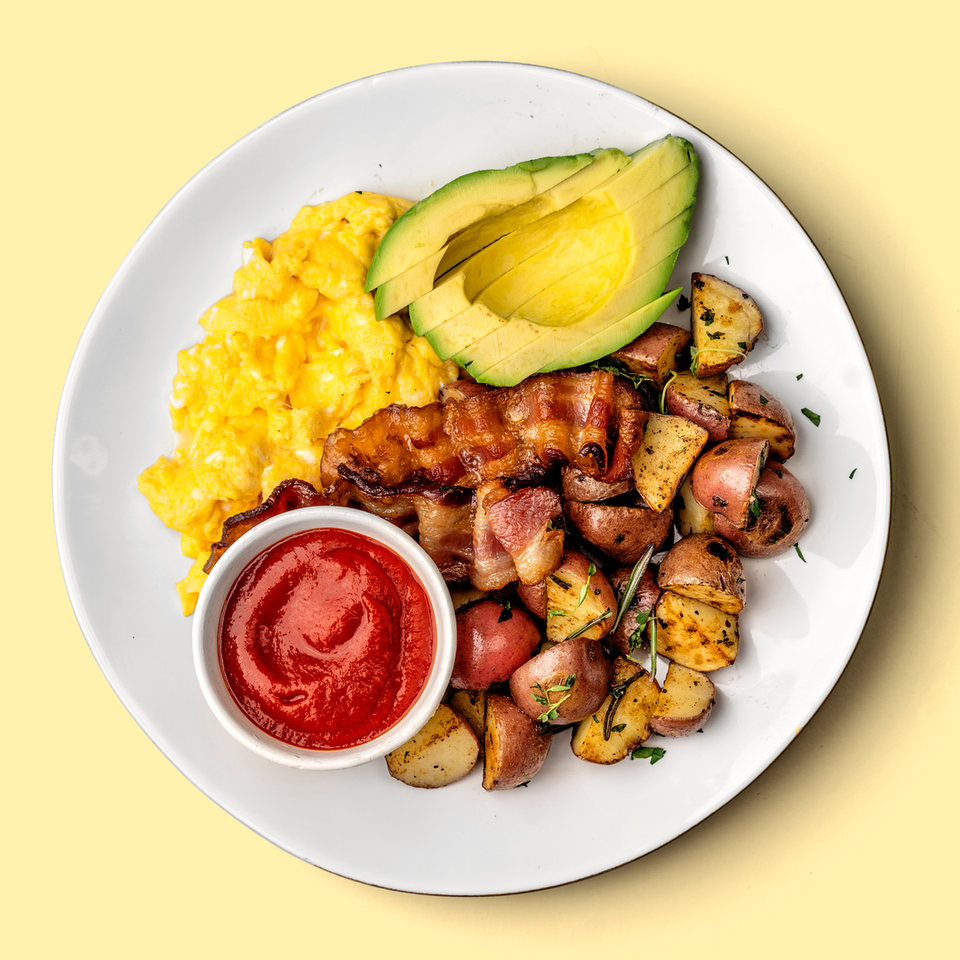
Barbecue season is always a time to look forward to. In most places, that means late spring through summer and early fall, when the temperatures are warm enough to make standing outside flipping burgers or tending corn on the cob enjoyable. These leisurely days of pool parties and backyard barbecues are what memories are made of: the sounds of kids laughing and splashing in the pool, the savory scent of grilled meat wafting from the BBQ, and the chance to chill with a cold bev in hand and warm grub in your belly.
While summer cookouts are meant to be easy and breezy, a lot goes into the perfect BBQ bash. From cleaning and maintenance to marinating and resting, barbecue experts know how to get the most from their grill. So, before you pick up your spatula and don your “Kiss the Cook” apron, read our ten tips to help you become the grill master you were born to be.

1. Marinate Your Meats (and Veggies)
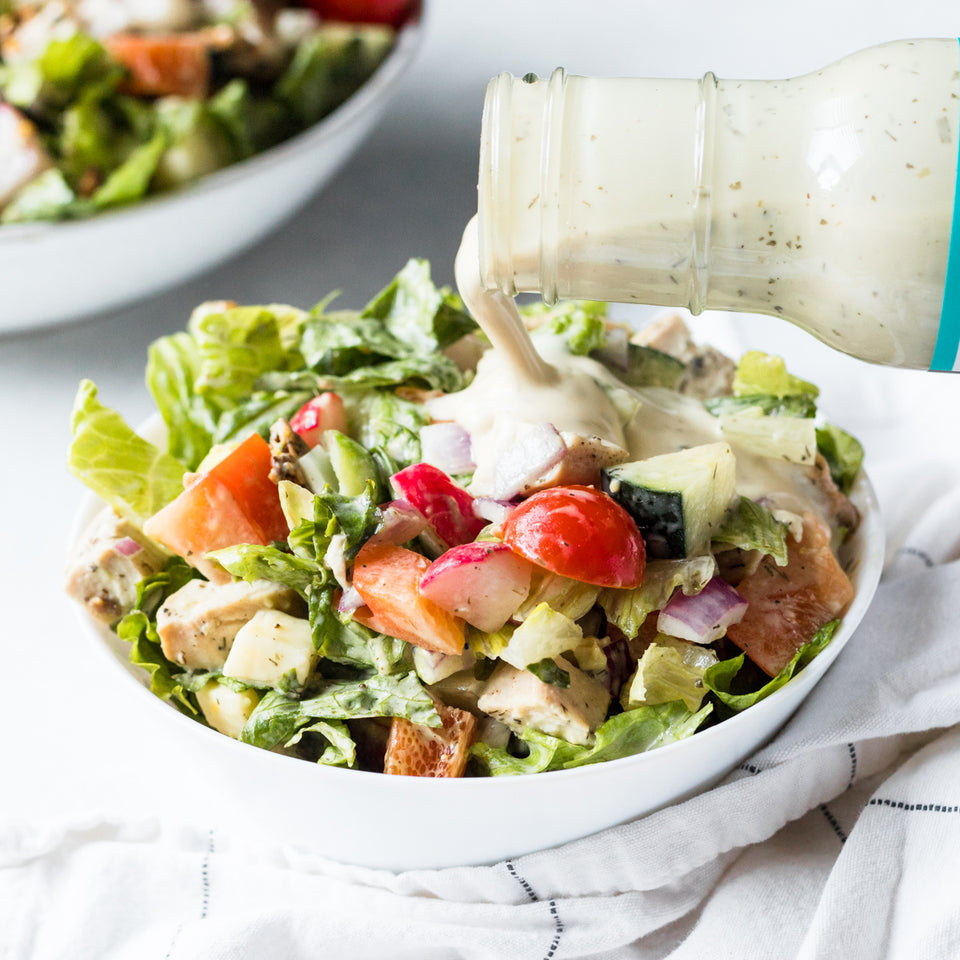
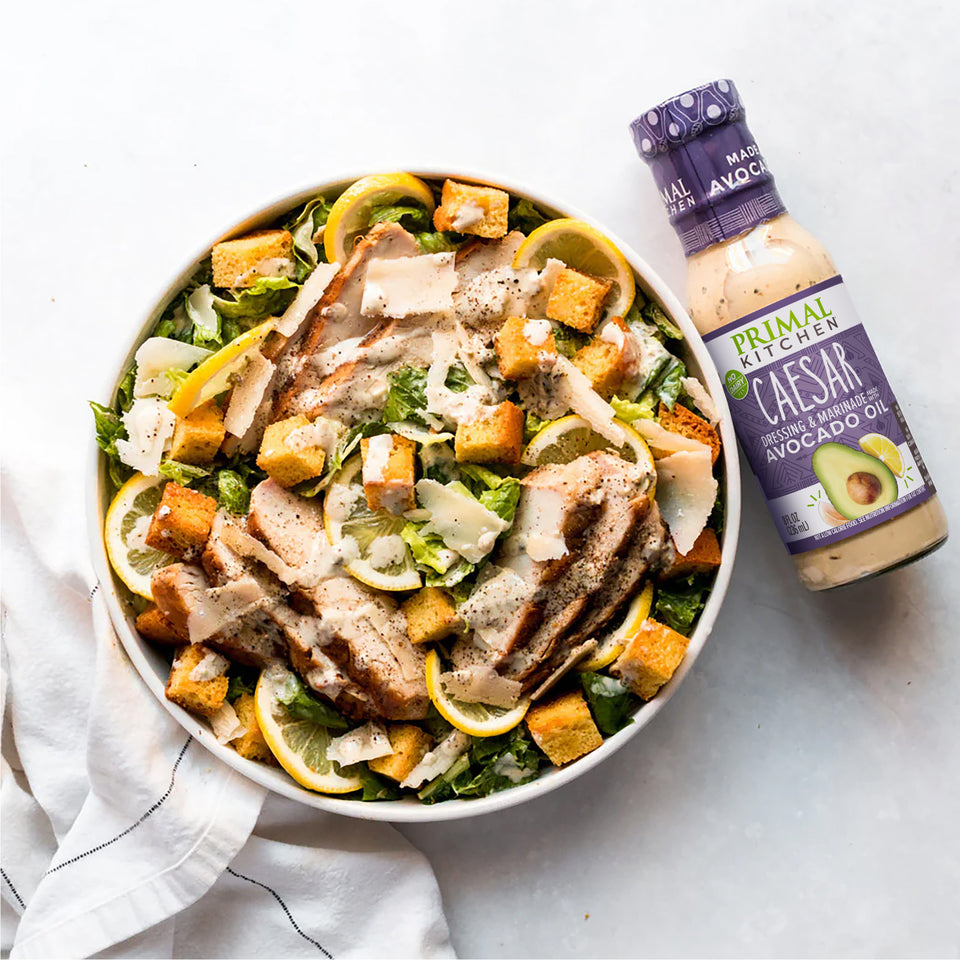
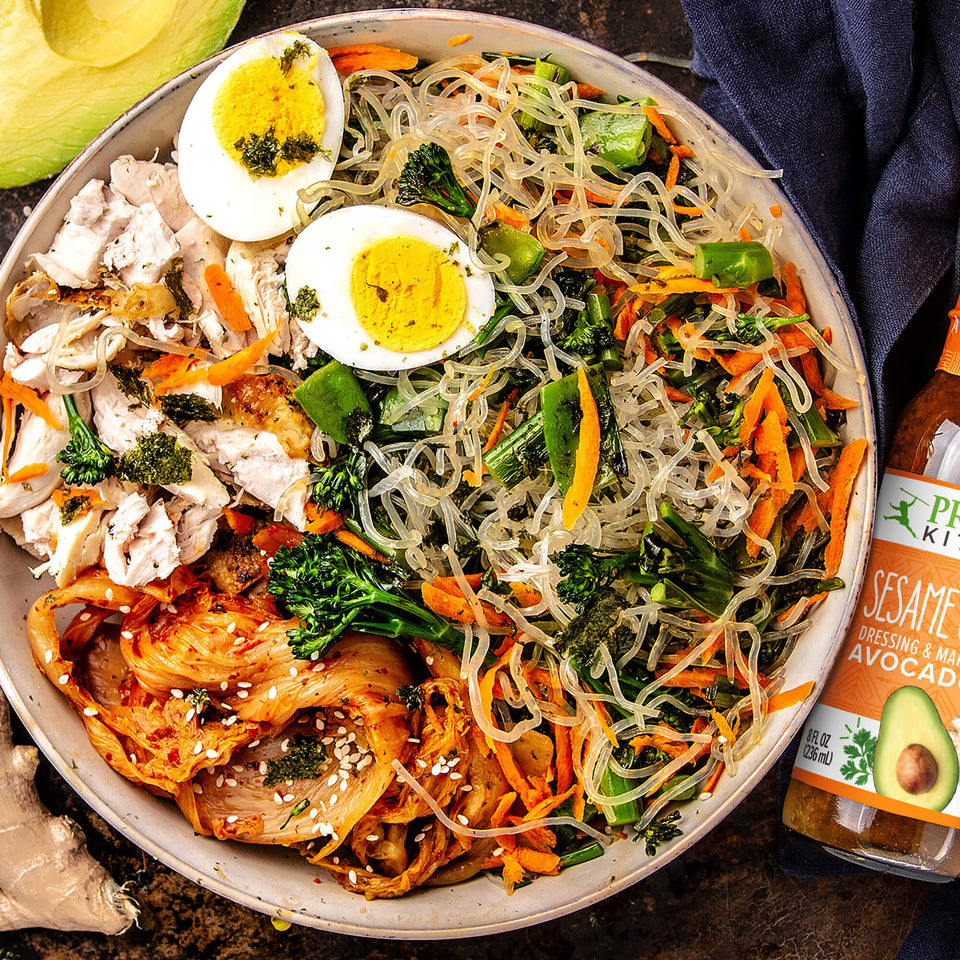
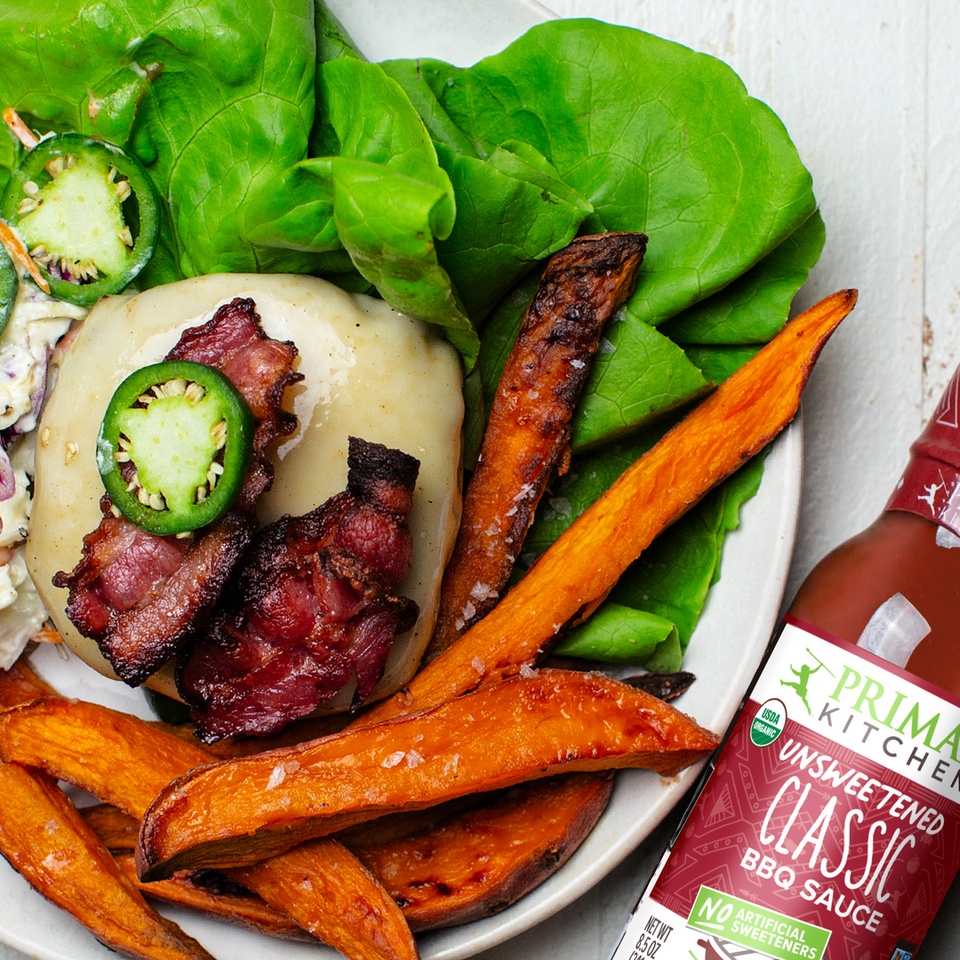
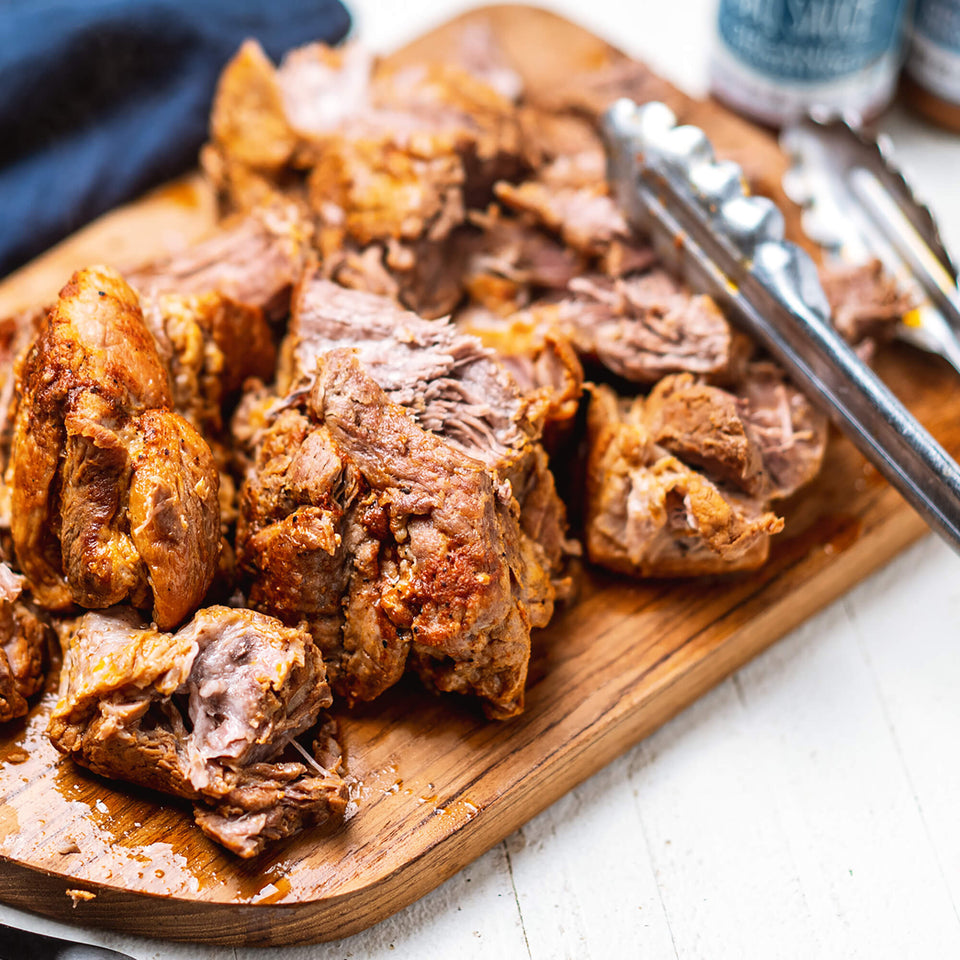
Cooking your food over an open flame will give it that crisp, char-broiled exterior you crave—but it won’t give it any additional flavor. This is where dry rubs, marinades, and sauces come into play. What’s the difference? A marinade is a liquid that soaks into your meat or vegetables for up to 24 hours before cooking, while dry rubs of spices are typically added just prior to grilling. Sauces can be added right before grilling, basted on during grilling, or poured on after the food has been cooked.
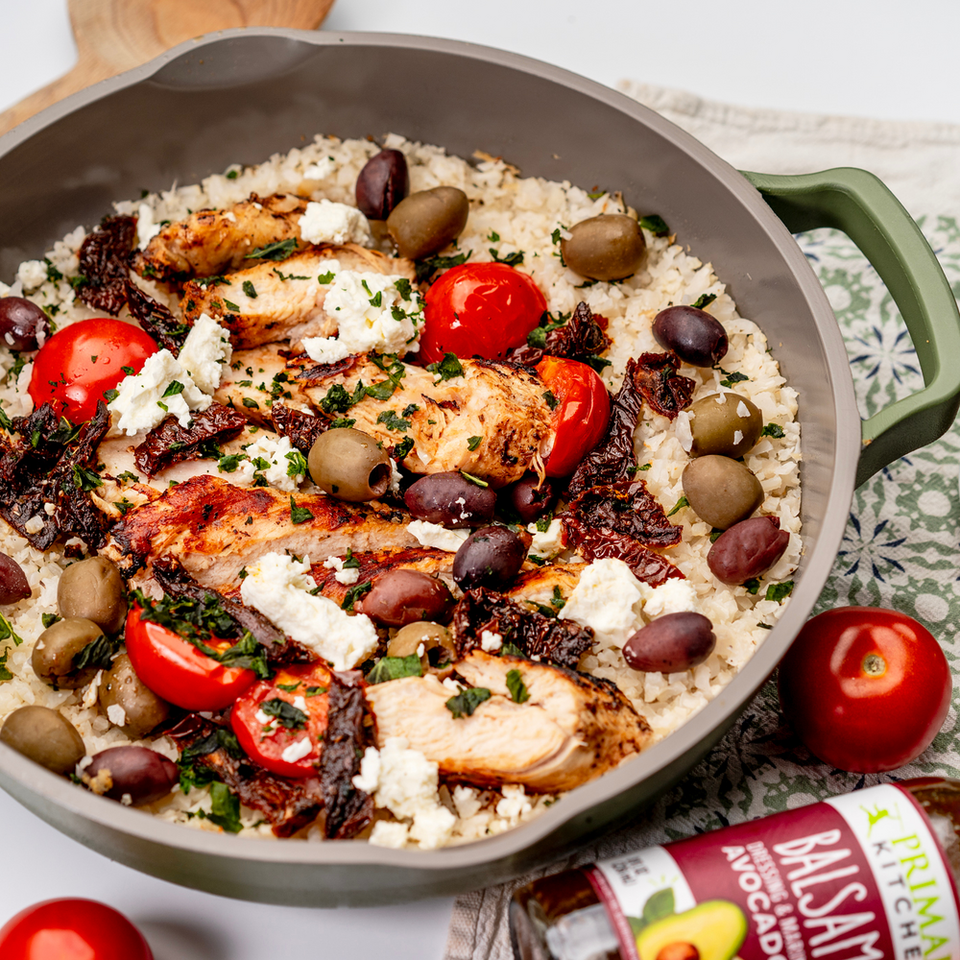
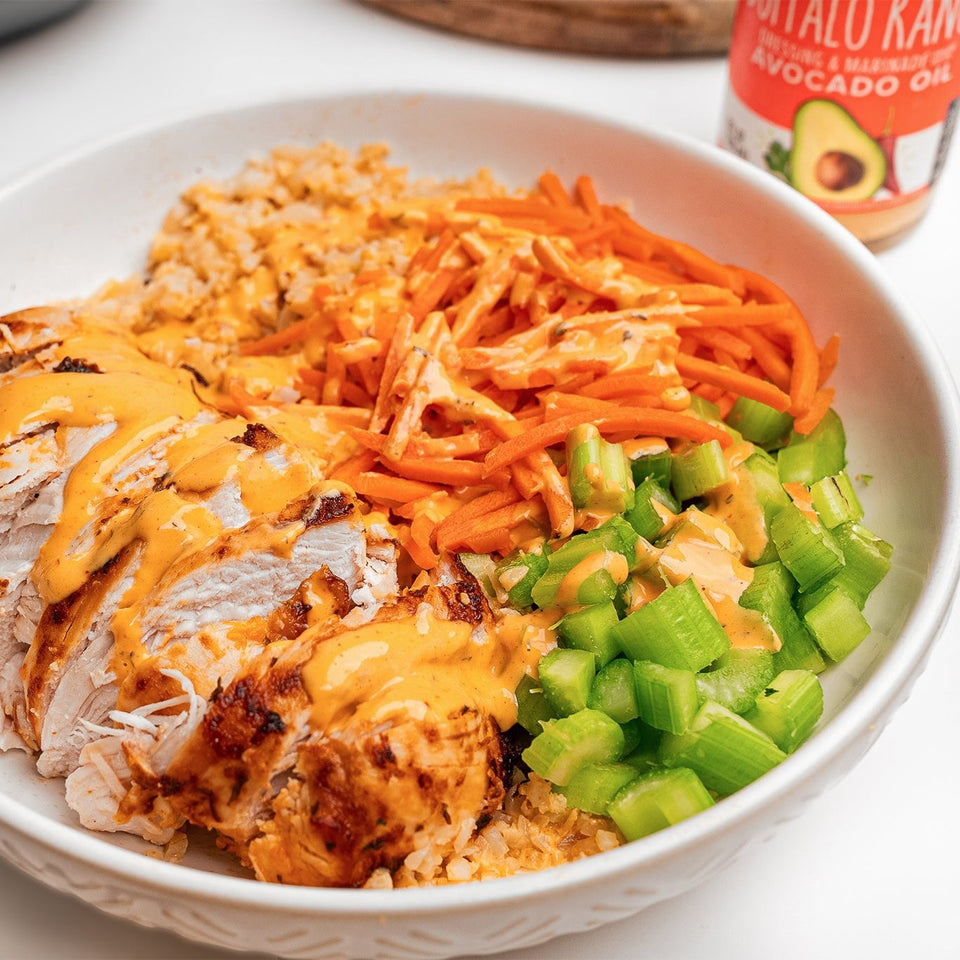
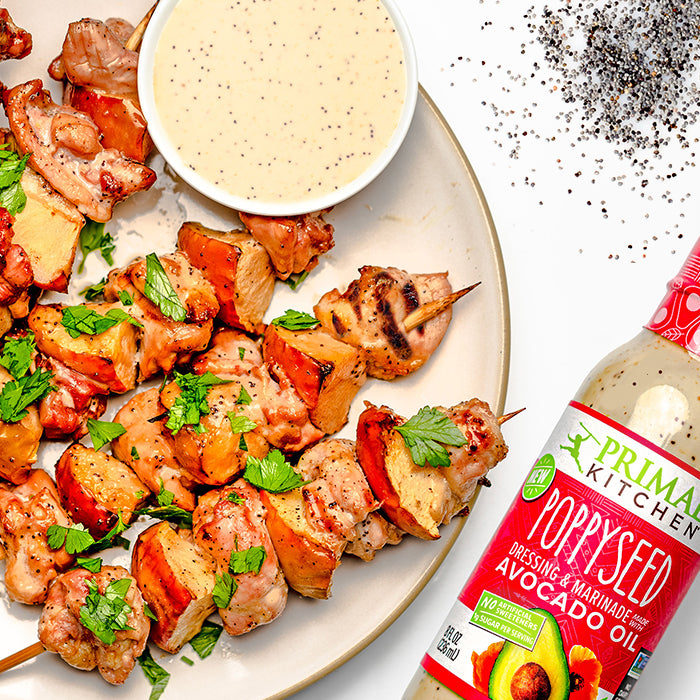
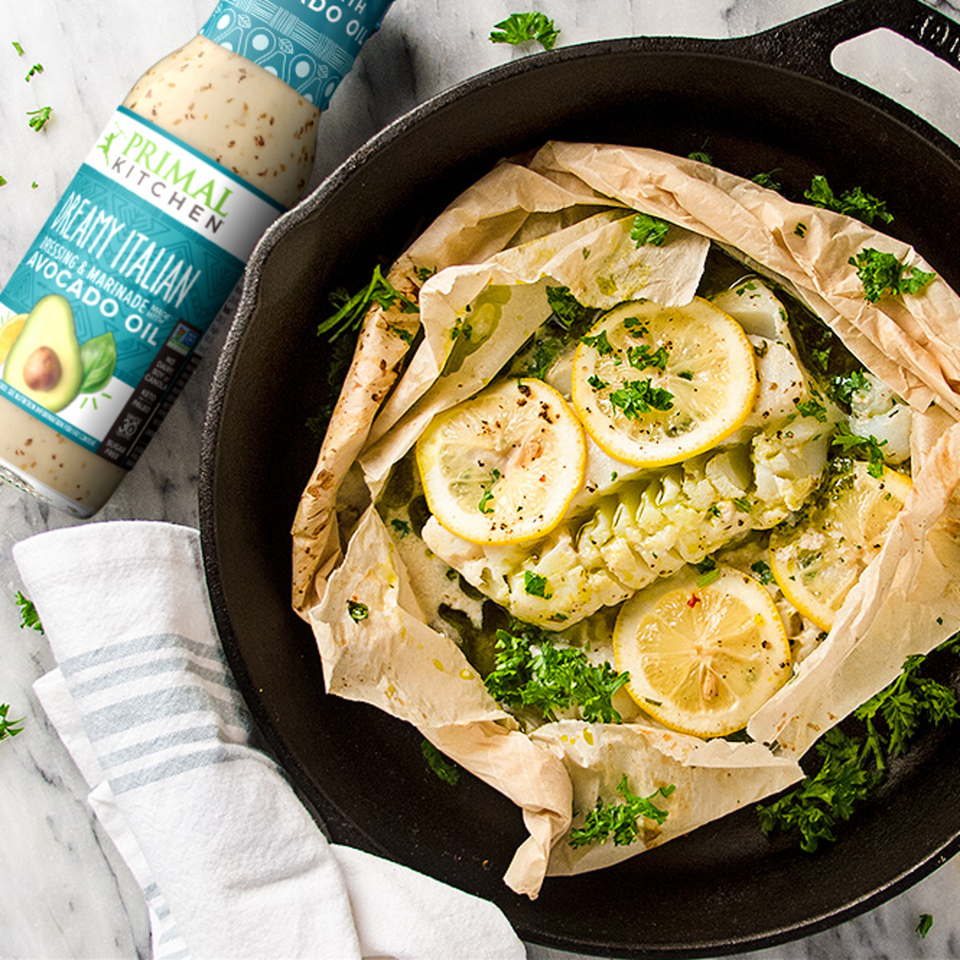
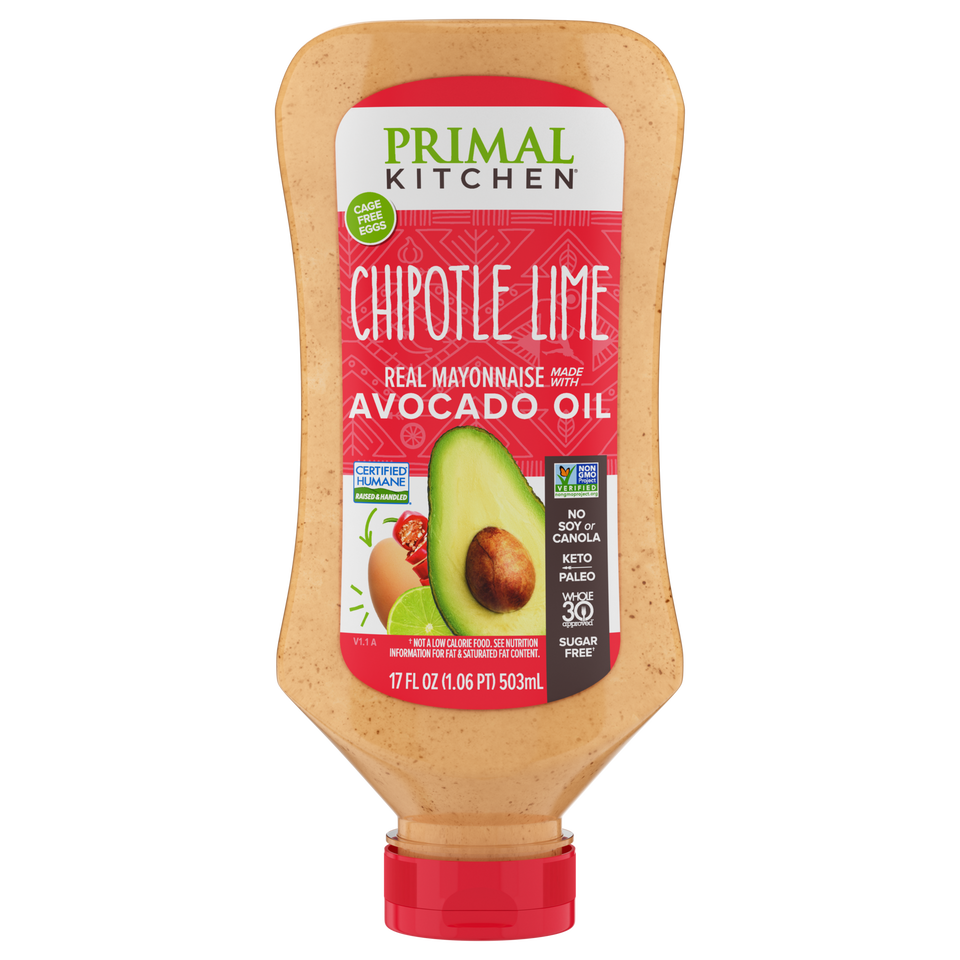
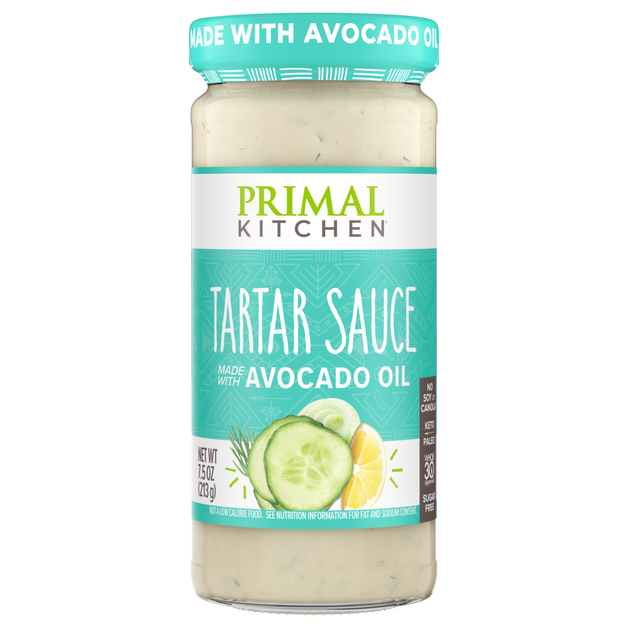
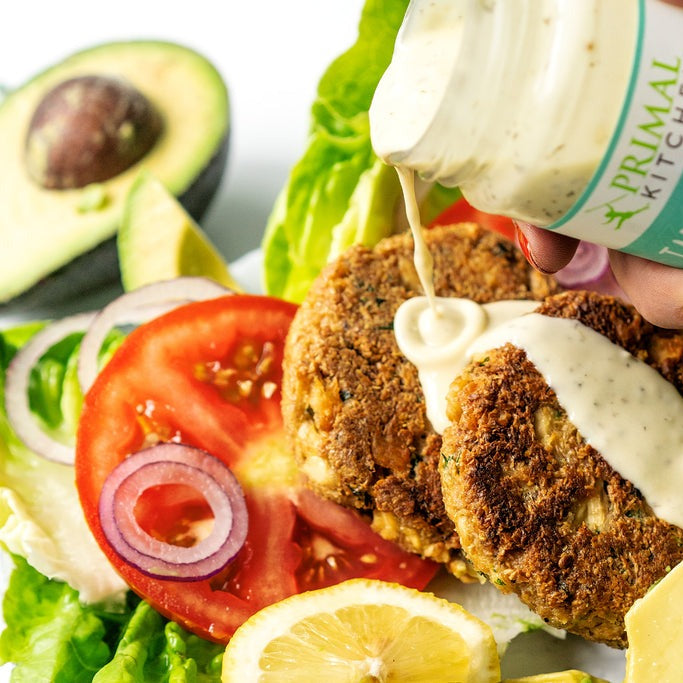
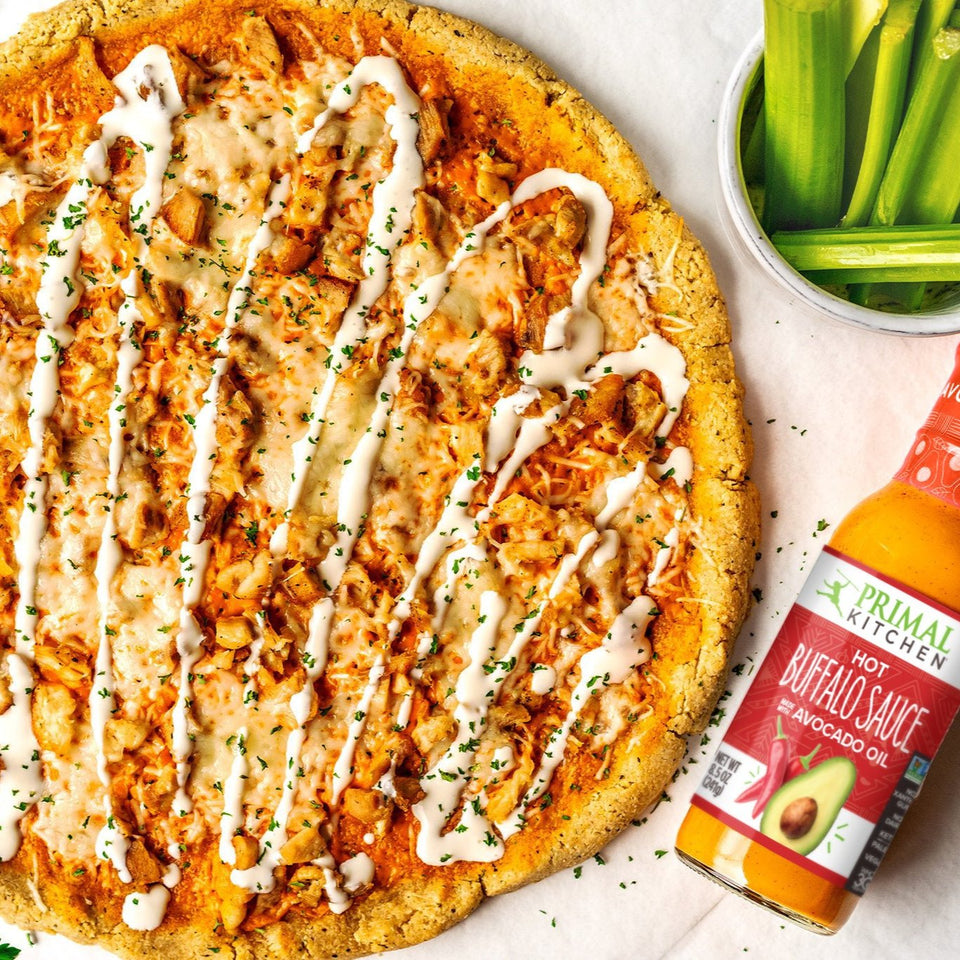
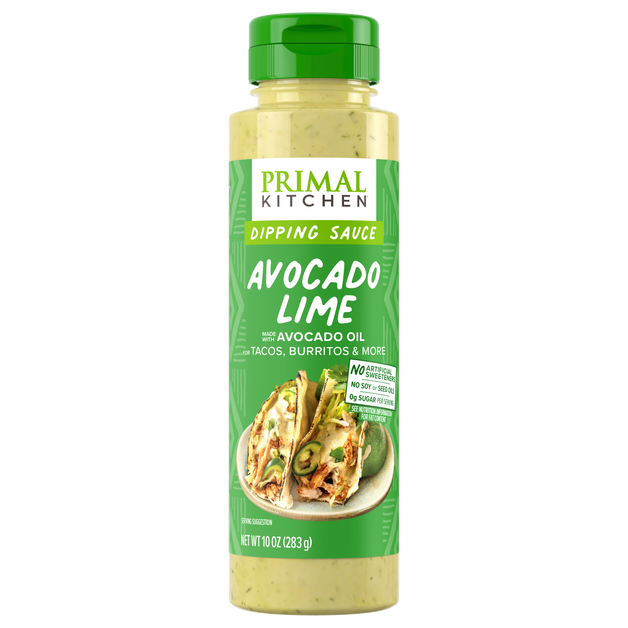
Because it packs such a flavor punch, we suggest marinating meats even if you plan on using a dry rub or sauce later. Like all of our avocado-oil-based grilling sauces, some sauces can double as both marinade and basting/dipping sauce. Marinating your meat in advance imparts extra flavor while keeping it moist and juicy throughout the cooking process.
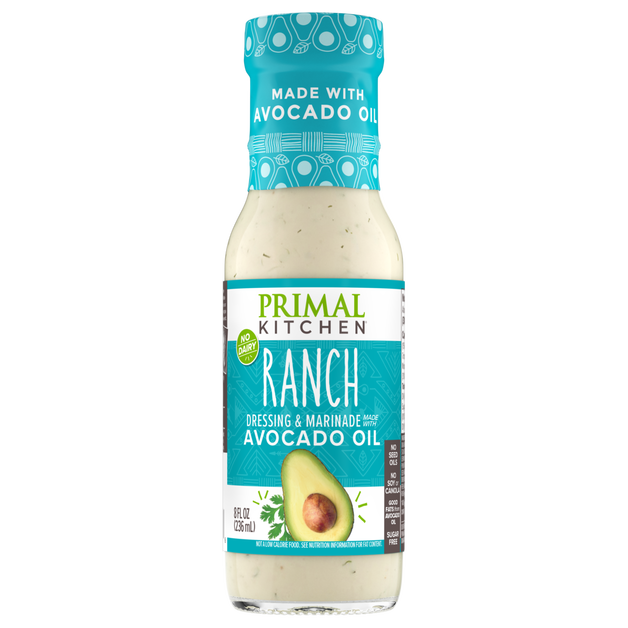
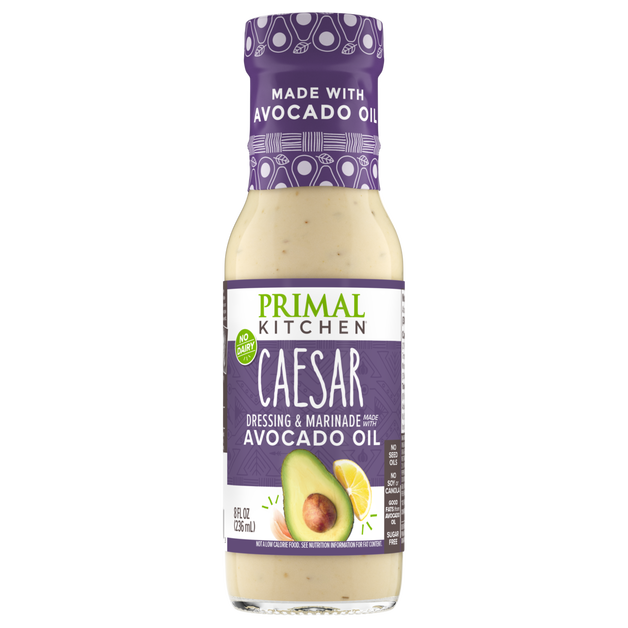
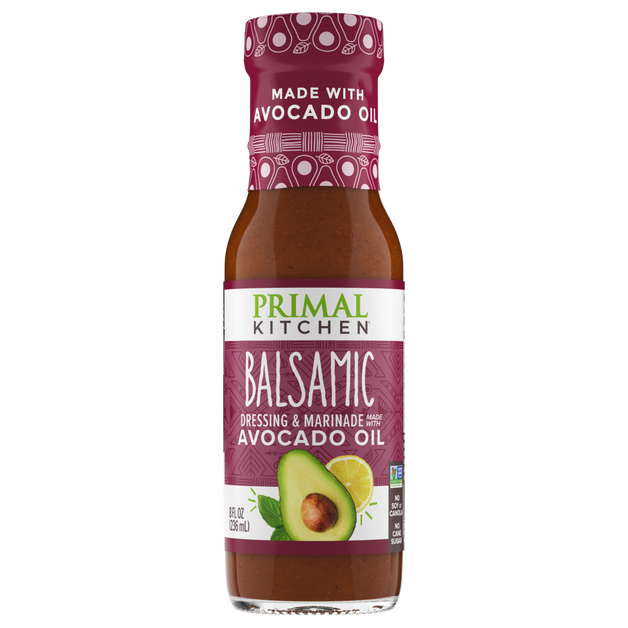
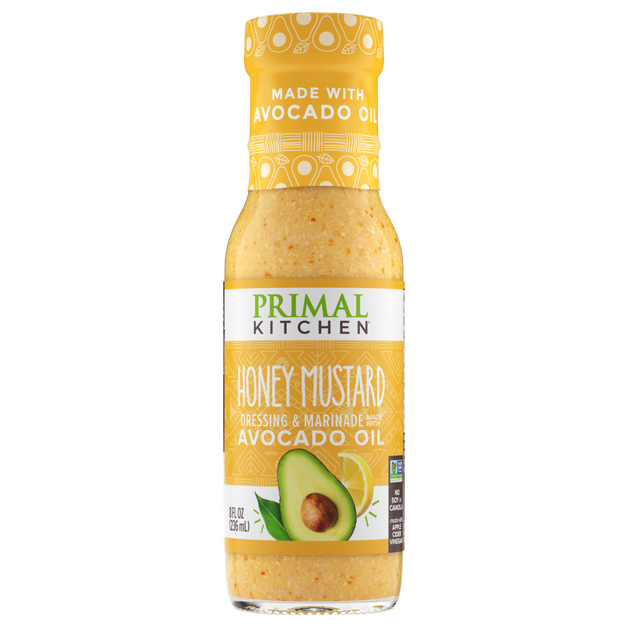
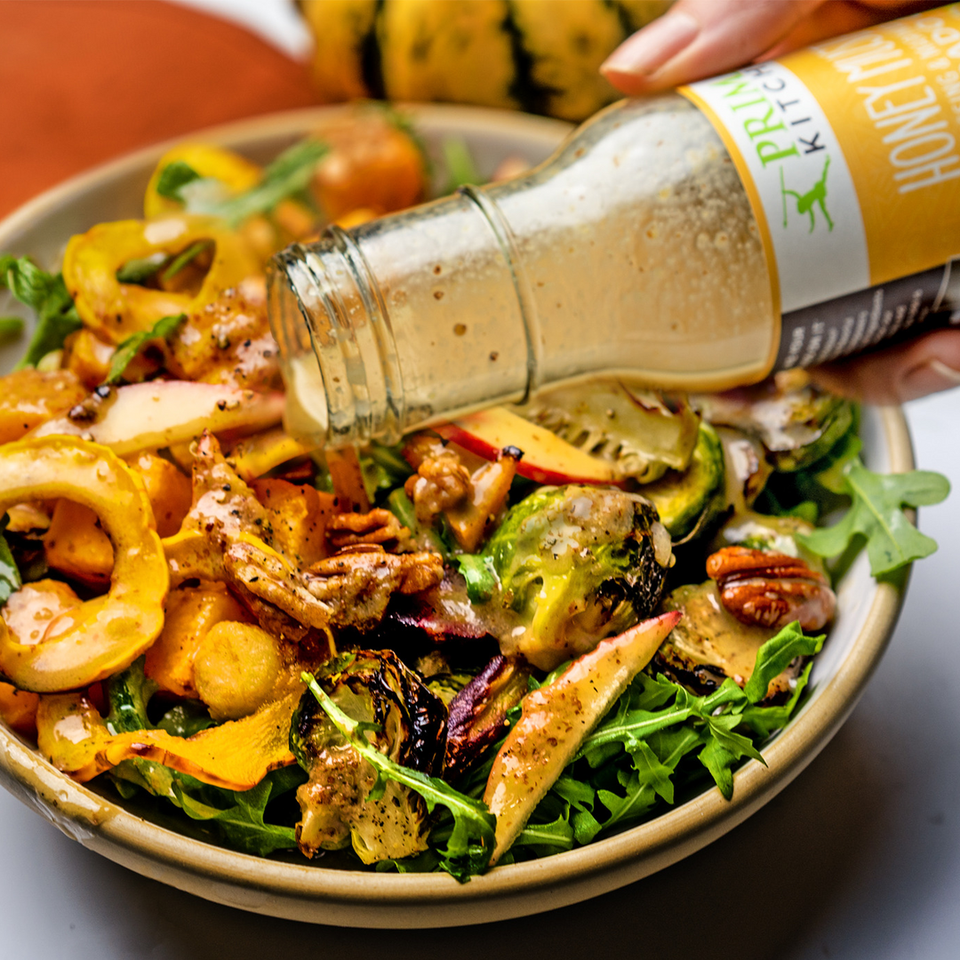
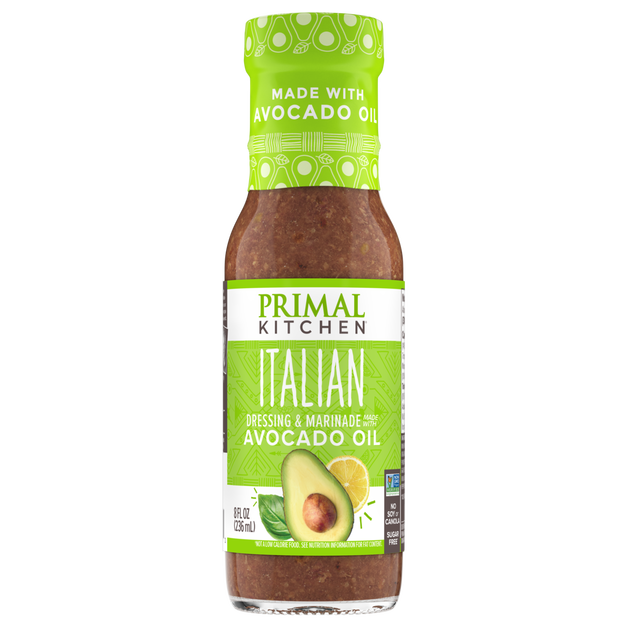
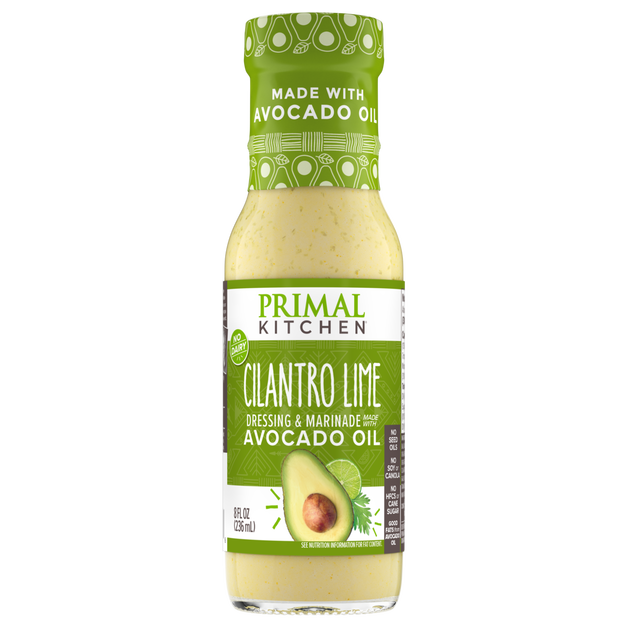
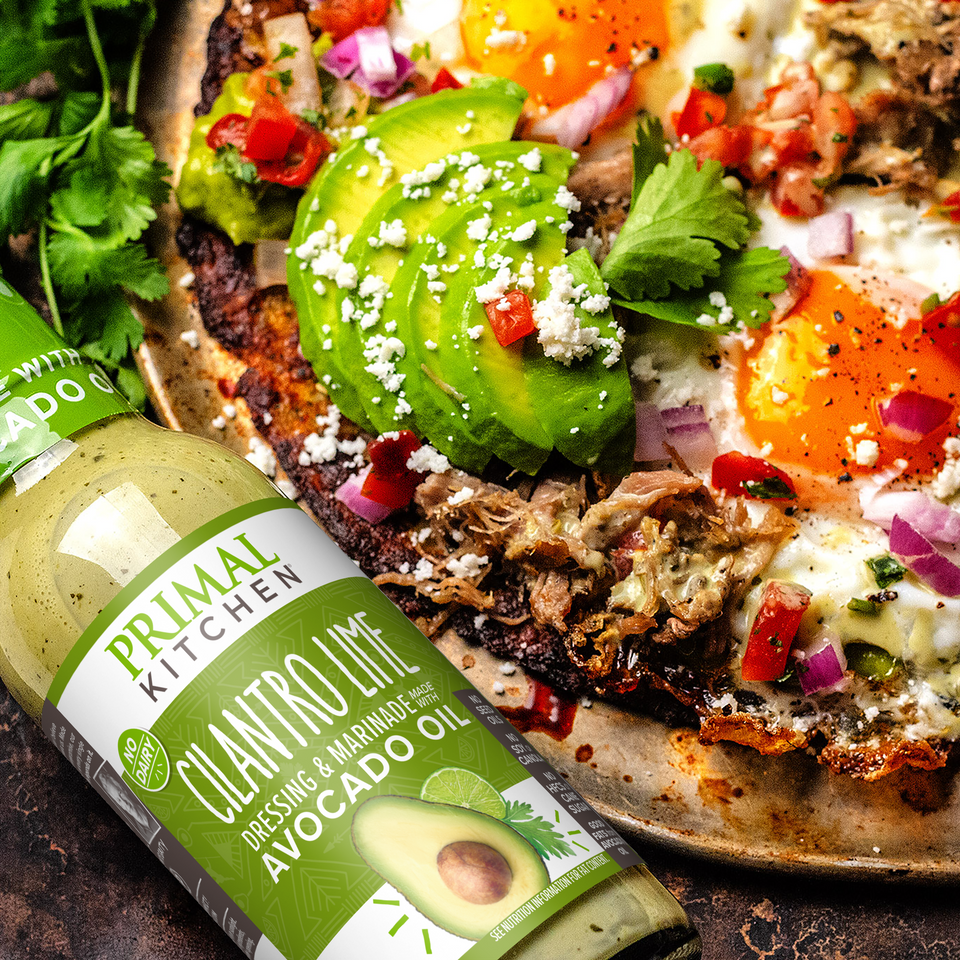
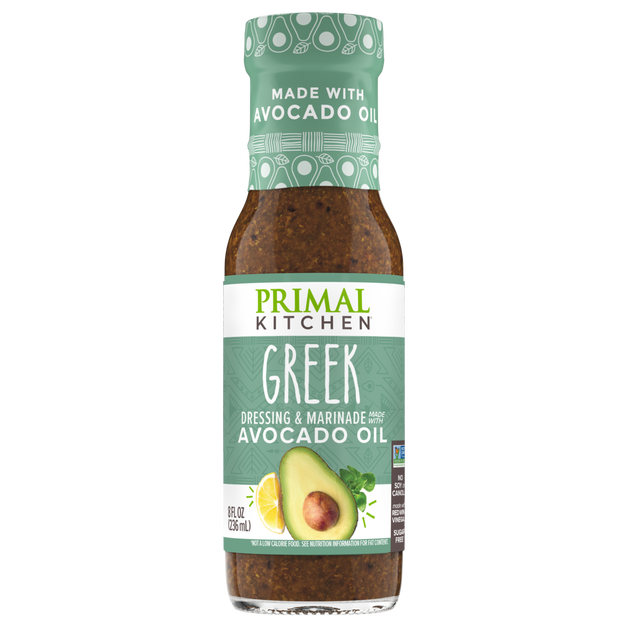
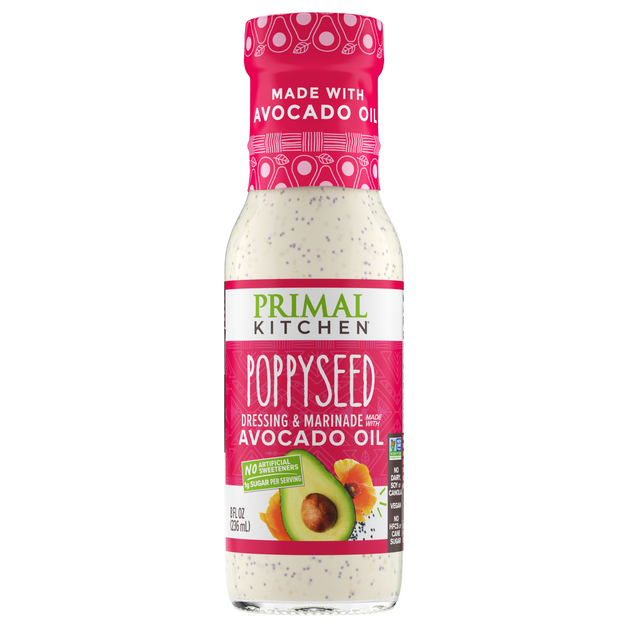
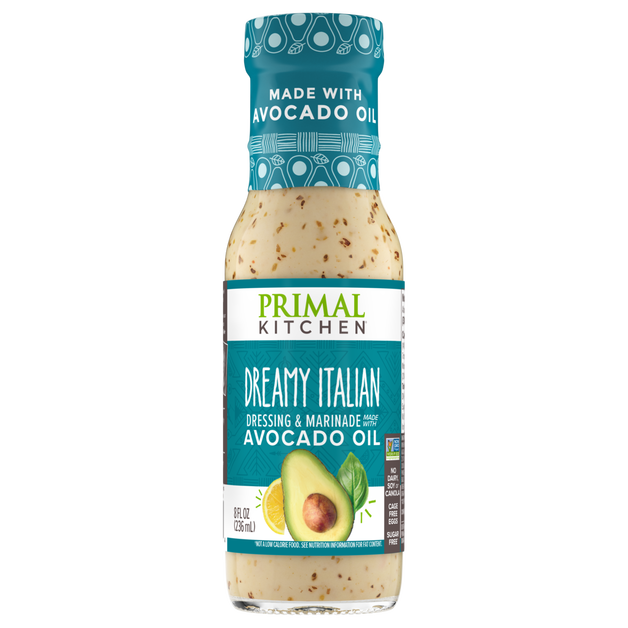
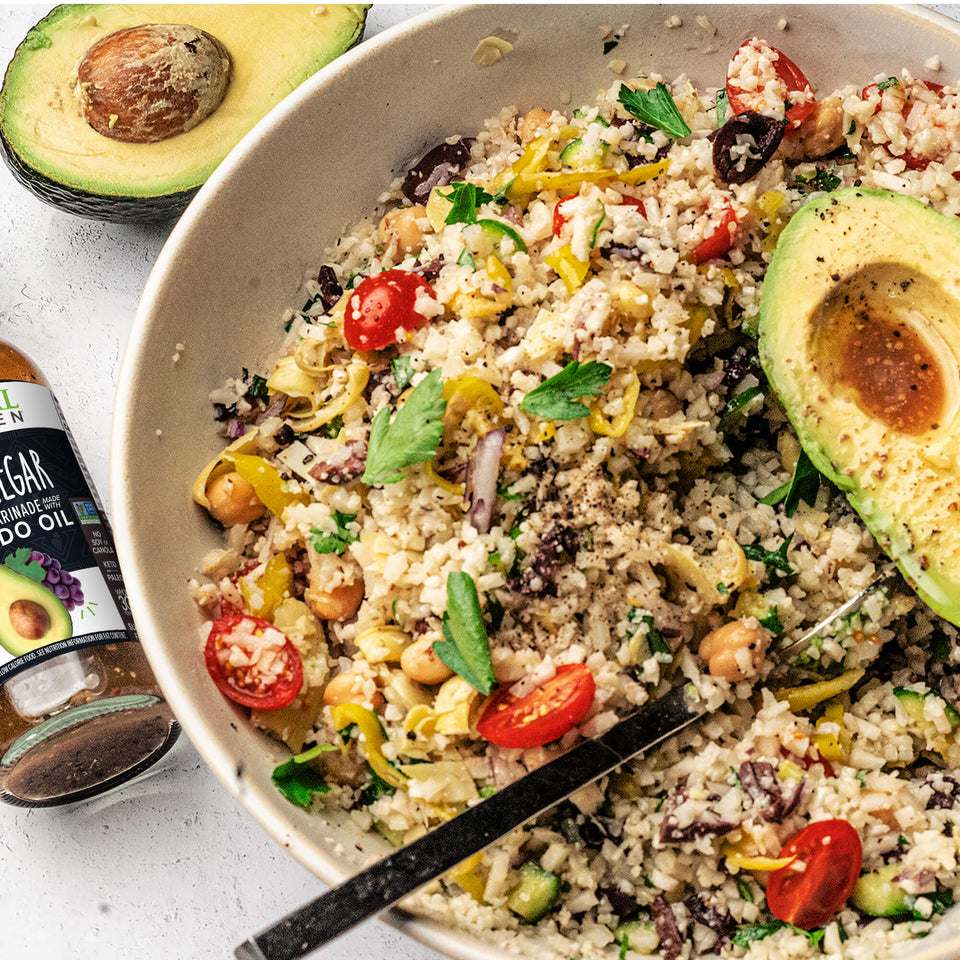
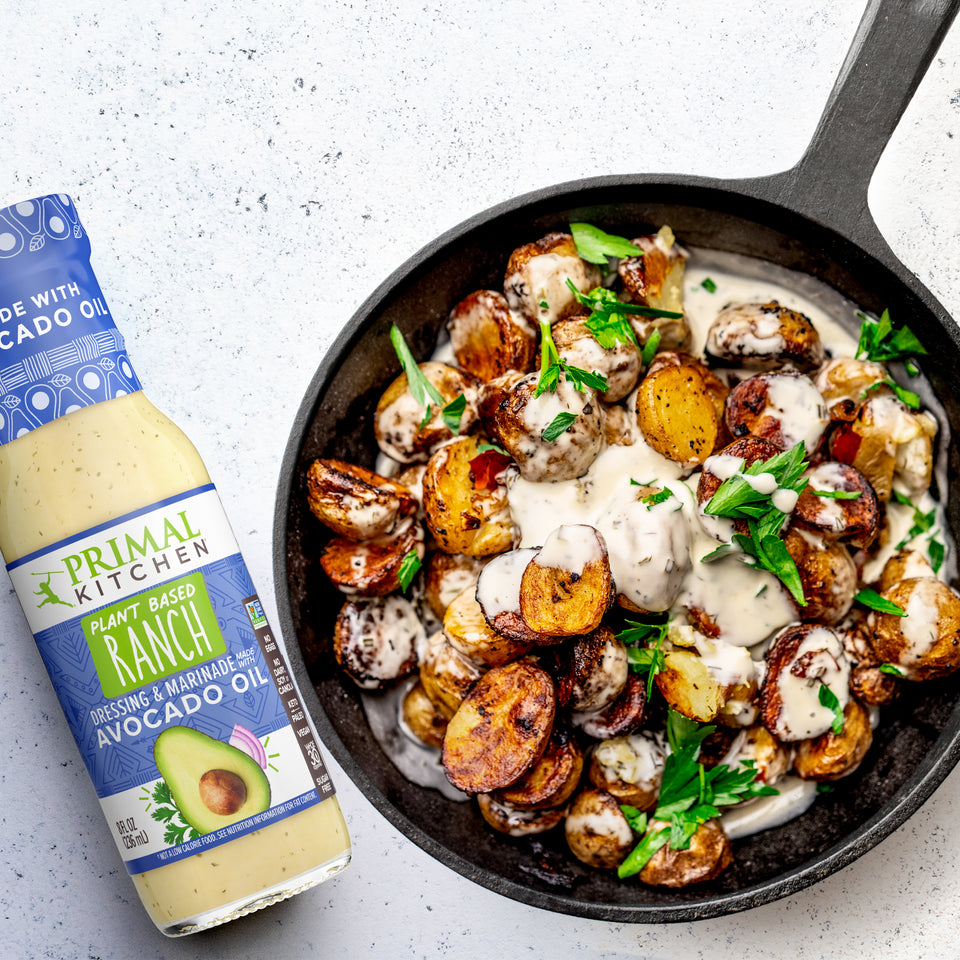
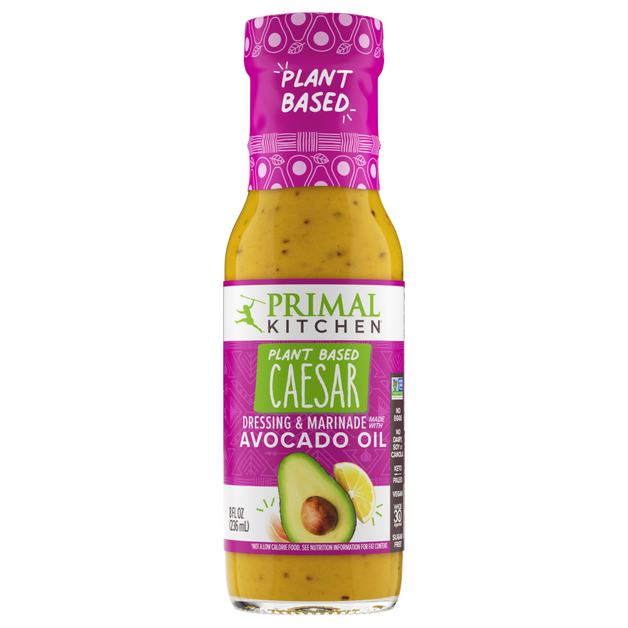
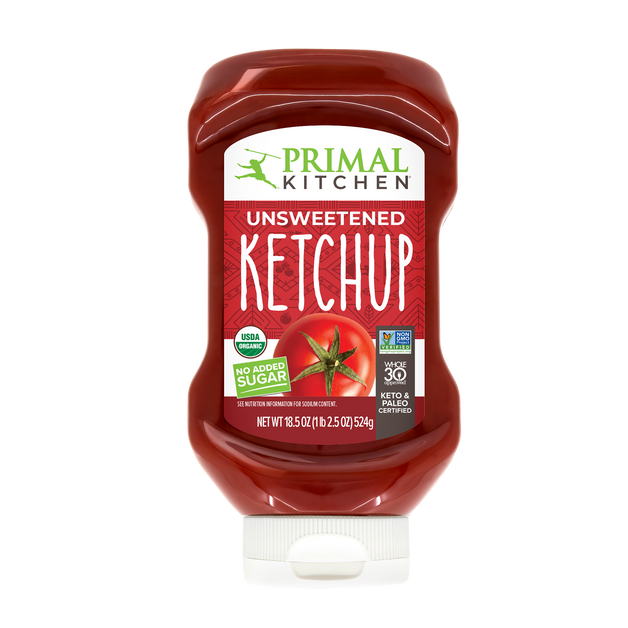
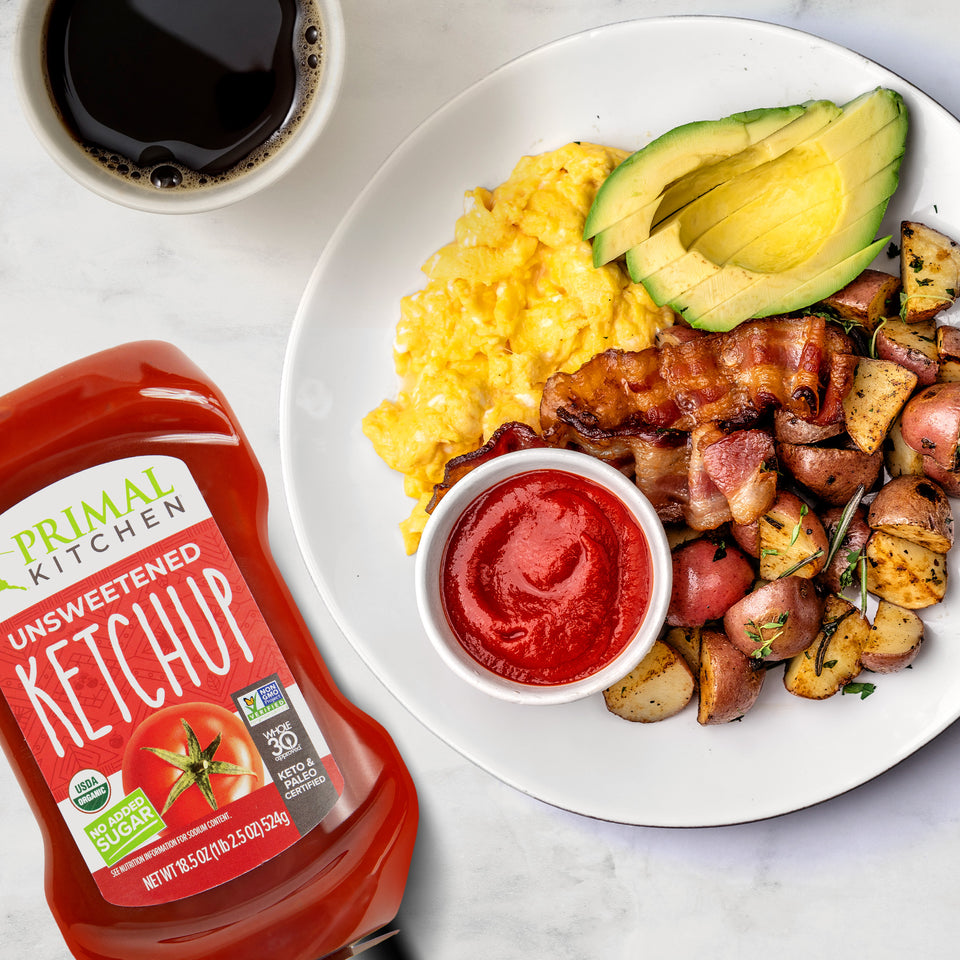
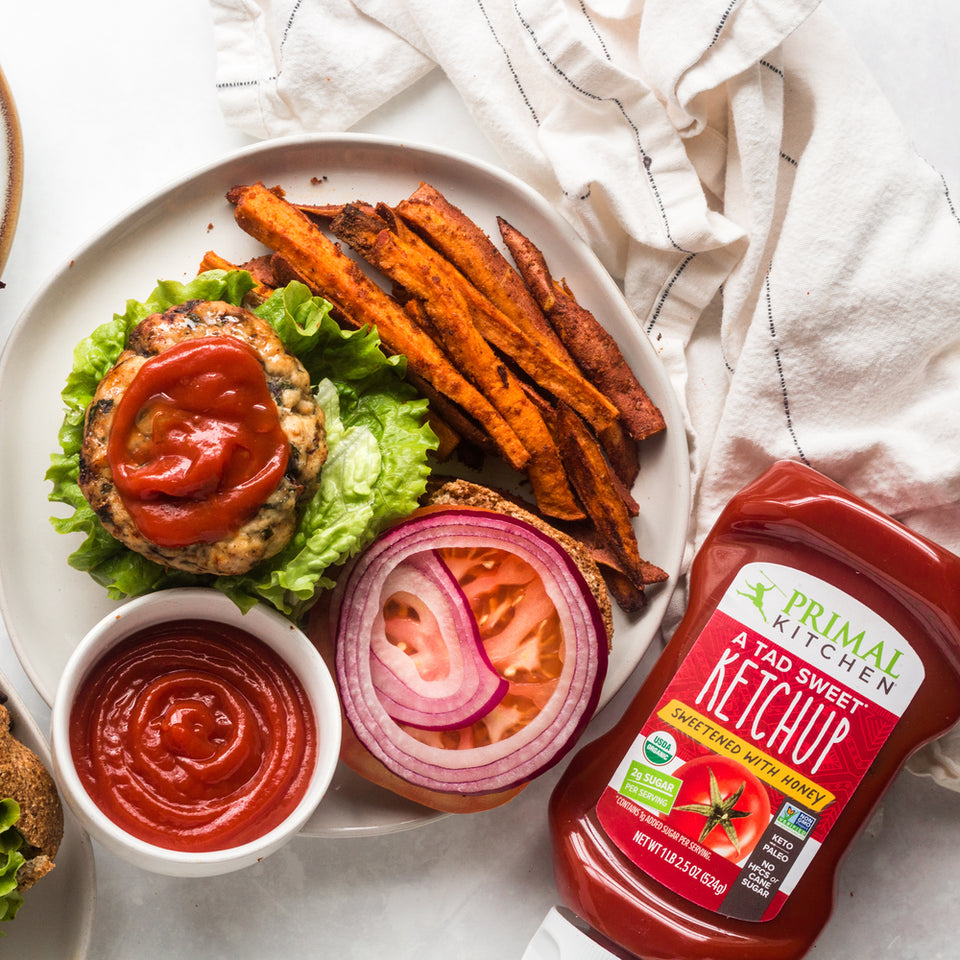
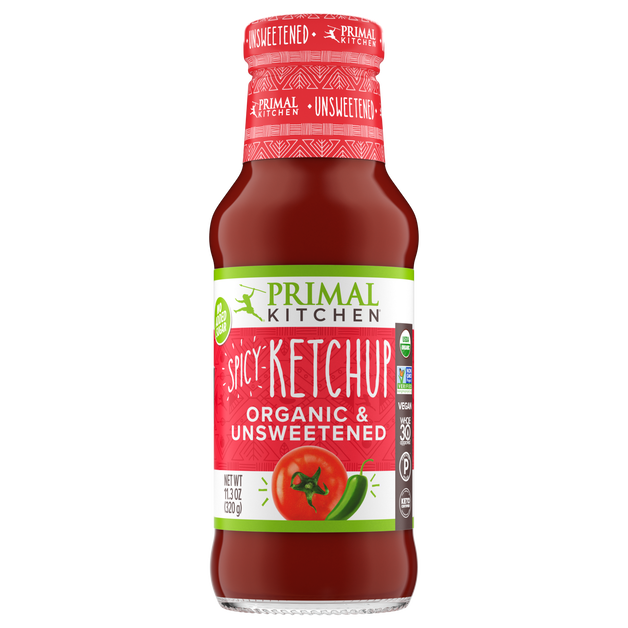
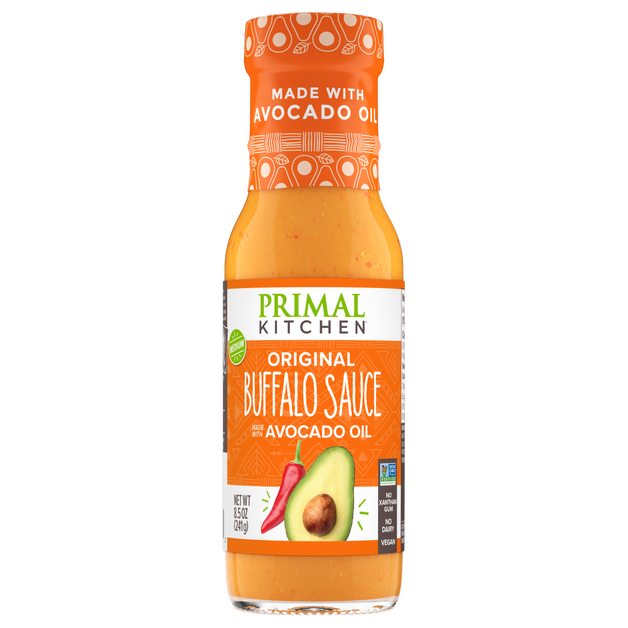
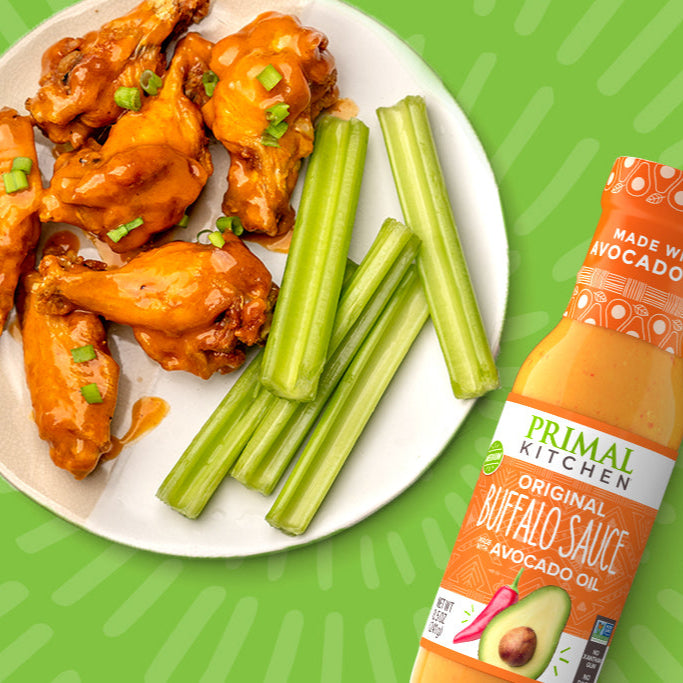
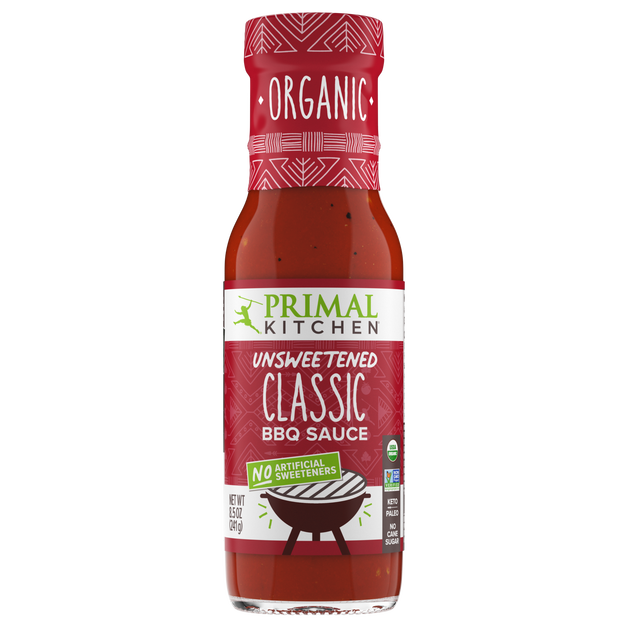
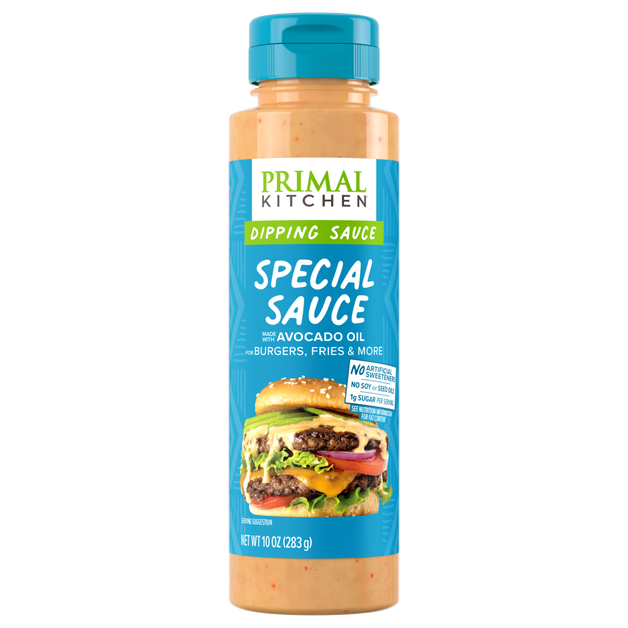
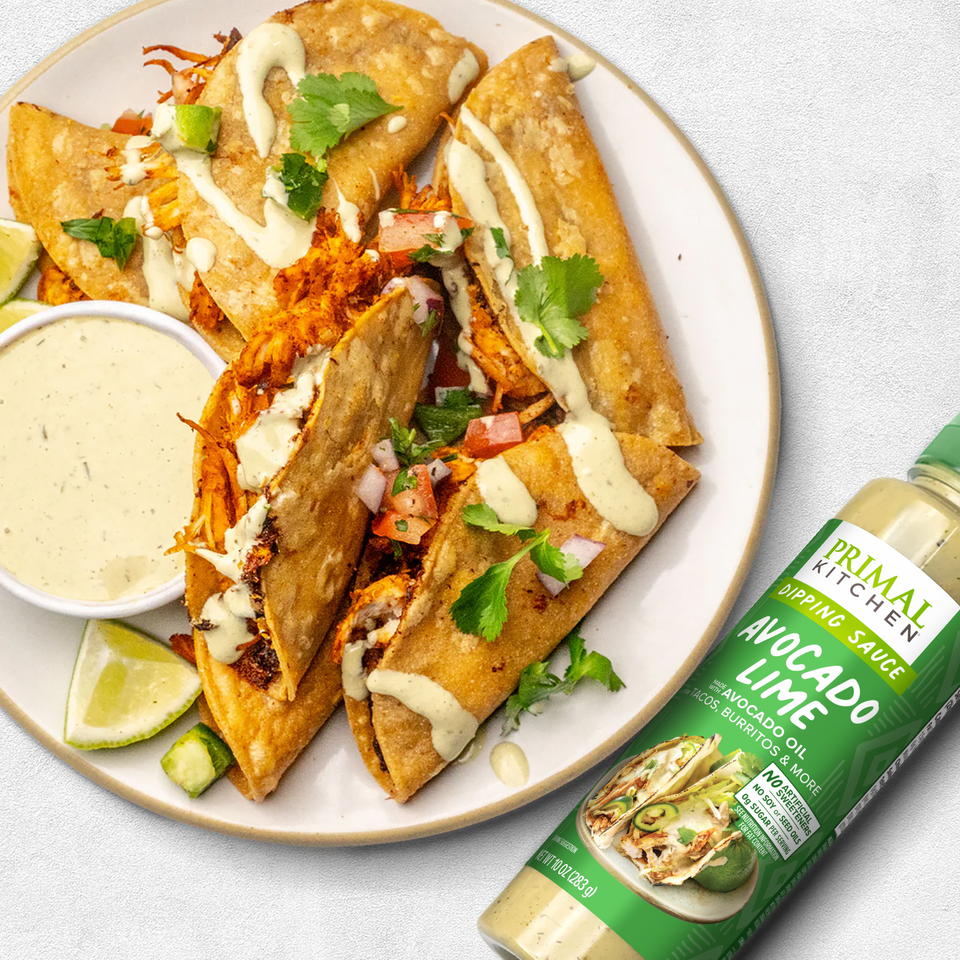
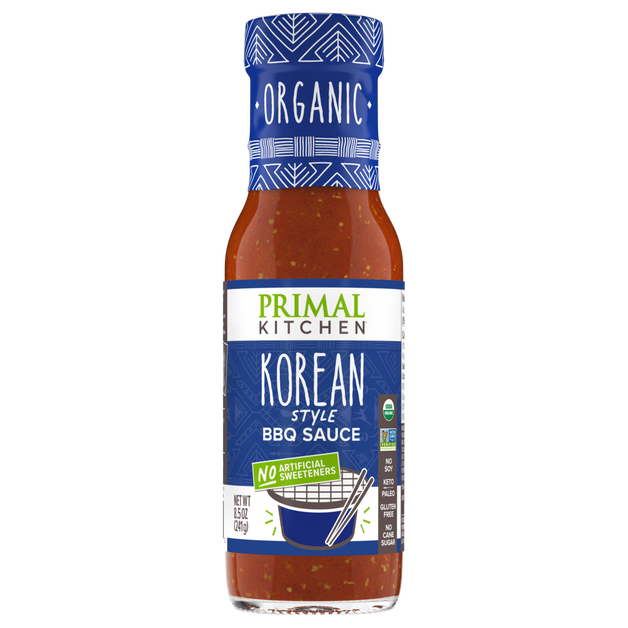
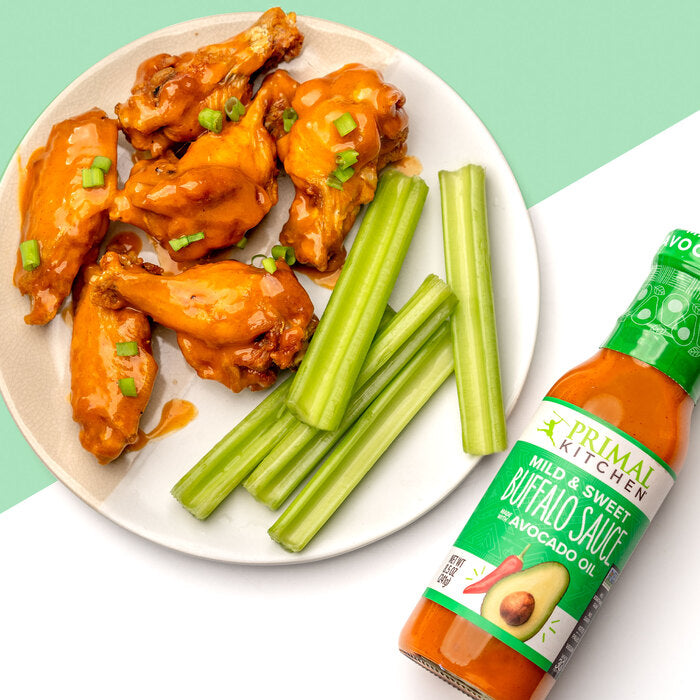
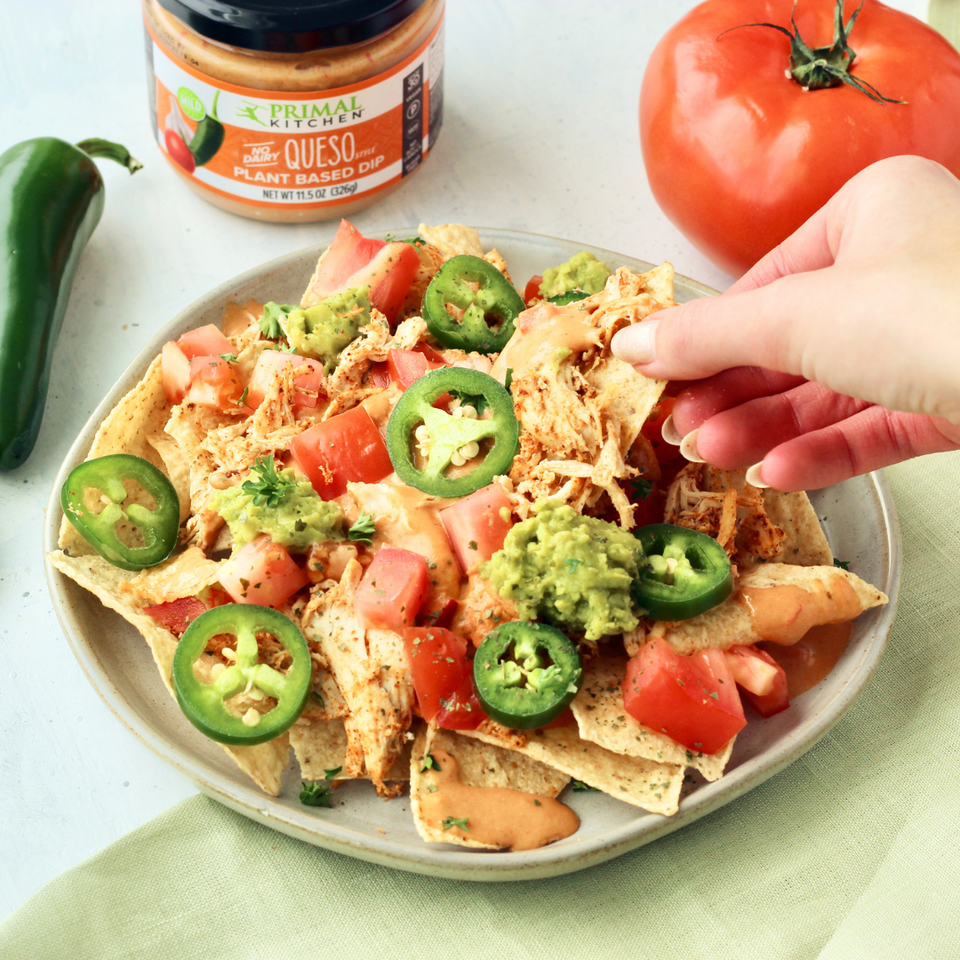
Which marinade you choose depends on your taste and heat level preferences, the meat or vegetable you’re grilling, and what sides you plan on pairing your dish with. All of our no-dairy dressings and grilling sauces can also be used as marinades, from our bestselling Original Buffalo Sauce to sticky-sweet Honey Teriyaki, creamy Caesar, and smoky Classic BBQ Sauce. Regardless of which marinade you choose, you’ll want to marinate your meats or vegetables for several hours or overnight before grilling.
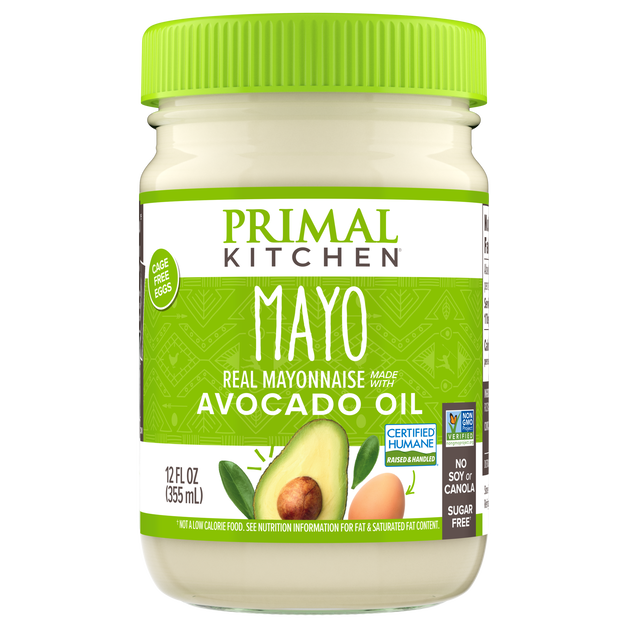
Pro Tip: Mayo the moment! Before cooking, slather steaks or chicken with real mayonnaise to keep the juices in and give your meat a unique, savory flavor. This video on reverse-searing a mayo steak shows you how.
2. Warm Up Your Meat
While it may seem counterintuitive (or even odd) to let your steak rest before it cooks, it’s in your best interest. Why? Meats that are even a little bit frozen will cook unevenly because the muscle fibers will tense up during cooking. Excess moisture that’s released can also cause hot splatter if your meats are frozen. The best way to prep meats for consistent grilling is to let them gradually come closer to room temperature before placing them onto the grill.
For steaks, about 20 minutes of warm-up time should suffice. Whether you’re cooking beef, pork, chicken, or other meat, follow the USDA’s grilling safety rules. In general, 2 hours is the absolute maximum to leave any food out or an hour in temperatures over 90°F.
3. When and How to Oil a Grill
If you’ve ever grilled before, you’ve probably made this rookie mistake: Imagine placing your beautifully marinated, perfectly trimmed steak or lightly coated chicken breast on a hot grill… only to flip it over and leave half your meat stubbornly clinging to the grate. This is why professionals typically grease their grill grates right after cleaning or before cooking.
When you grease your grates will depend on how often you use the grill and whether you have already cleaned your grill before cooking. To find the best process for you, try a few options and see what works best. The two most important factors that go into oiling a grill are:
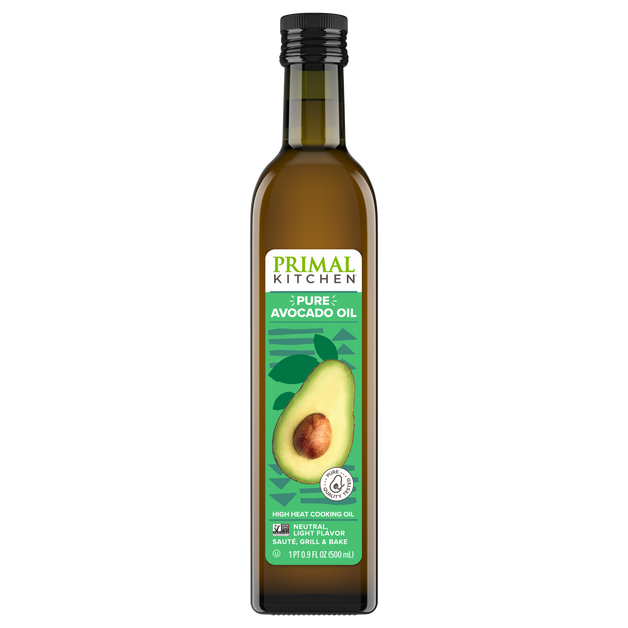
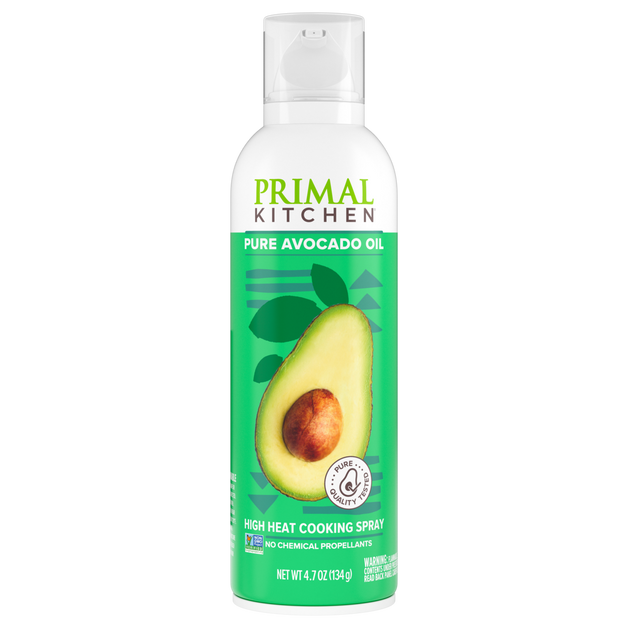
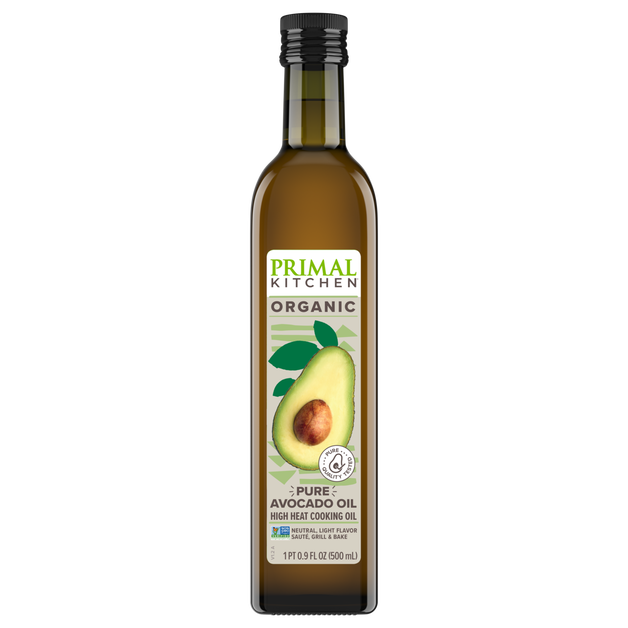
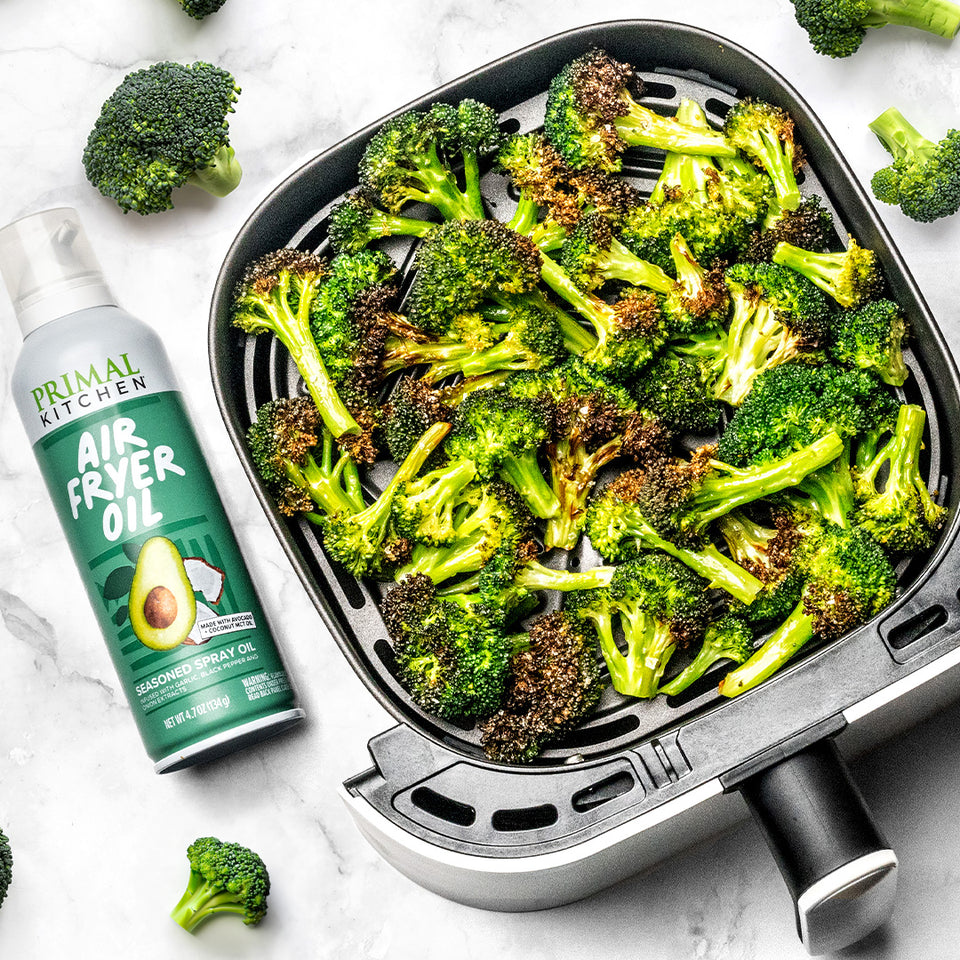
Using High-heat Oil: Why does a grill cook food so fast? Because it’s smokin’ hot. That’s why it’s crucial to select an oil that can withstand higher temperatures before it starts to smoke, giving your food a flavor that’s more burnt than deliciously char-grilled. We recommend avocado oil, which has a smoke point of around 520°F. For ease, remove grill grates and flavor bars, and lightly spray the tops before placing them back into the grill.
Greasing While Cool: It’s important to grease your grill grates BEFORE preheating your grill. Spraying oil on a hot grill can increase your risk of injury to yourself and others or damage to your grill—not to mention the taste of your food may suffer. Many grillers swear by the method of greasing the food, NOT their grill.
Others lightly oil their grill grates right after cleaning and spray or oil each food item before placing it on the grill. This will help prevent food from sticking while it cooks without the need to coat the entire grill.
4. Light Your Grill
Before you can get cooking, you’ll need to light your grill. If you haven’t done this before, rest assured it’s a lot easier than the process to get a fireplace going! Just follow the easy steps below for the type of grill you have.
How to light a charcoal grill: Pour the charcoal into a small pile. The ideal amount of charcoal you use depends on how much food you cook—pour a larger amount of charcoal for more significant gatherings or batch cooking. Following the bottle’s directions, squirt lighter fluid directly onto the cool coals (NEVER pour lighter fluid on hot coals). Use a long match or lighter to light the charcoal.
How to light a gas grill: Start by raising the grill lid. Next, turn on the gas using the valve on the tank. Then turn on your burner, hit the igniter button, and the grill should start to heat up! If your grill fails to ignite, turn off the gas immediately. Wait a minute or so, and then try these steps again.
5. Preheat Your Grill Before Cooking
Much like an oven, a gas or charcoal grill needs time to get up to temperature. Sure, you can technically toss your burger patties or hot dogs right on the grates the second you’re ready for a cookout, but you’ll regret it when your dog has hot and cold spots. Skipping your preheat also messes with the cooking times, instantly rendering any charts on hand unreliable. Follow these simple steps to prime your grill and make it ready to deliver perfectly cooked meats & veggies.
For a gas grill, start by opening the lid and turning on the gas. Then, light the grill and turn your burners to high (you can adjust them for cooking later). Close the lid of your grill and wait 10-15 minutes before cooking.
For a charcoal grill, the process is just as simple. Light your coals and wait until they start to turn gray and ashy. Then, open the dampers, lower the lid, and preheat for 15-20 minutes.
6. Don’t Be a Helicopter Griller
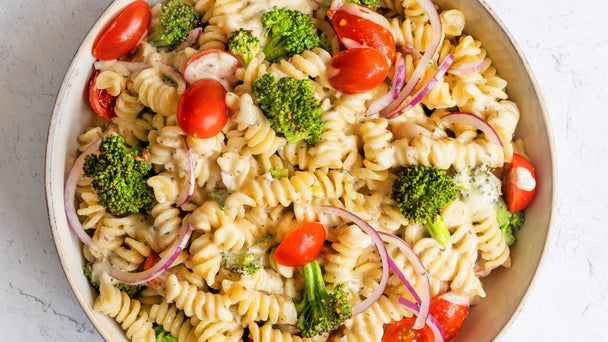
Now that you’ve marinated and rested any meats and cleaned, oiled, and lit the grill, it’s finally time to cook. Once you’ve placed your meats and veggies on the grates, what should you do next? The answer is simple: absolutely nothing! Take a few minutes to slice and prep some burger toppers or mix up a bowl of our delicious Easy Macaroni Salad, because you’ll have some downtime.
If you put the lid down for cooking, resist the urge to open it back up every minute. Hanging out nearby is fine—good even, just in case something begins to scorch unexpectedly. You don’t want to constantly flip your steaks or move your veggies around on the grill, or you’ll risk cooking everything unevenly. Meats will also dry out and become tough if flipped too often. Turn your meats only once, about halfway through cooking. For skewers, you may need a couple of additional rotations to ensure even grilling all around.
7. Avoid Smashing Your Burgers
If you’ve been around a grill a time or two, chances are good you’ve seen a griller use a spatula to press down on their burgers while cooking. Maybe you’ve even done it yourself, thinking you’d avoid the dreaded “middle hump” that burgers tend to get while cooking. The bad news is that if you’re cooking hamburgers, turkey burgers, or even veggie burgers, all of those delicious juices inside your patty run out every time you flatten them.
That center bulge happens because the sides of the burger cook cinch up during cooking, pushing the less-cooked center meat outwards. It’s easy to avoid, though. Instead of the signature spatula move, try this easy thumbprint hack to prevent a bulging burger: Before cooking, press your (clean!) thumb down on the center of each burger. Then, when the middle section of your burger expands during grilling, it will be nearly level with the rest of the patty.
8. Use a Meat Thermometer
If you’re the kind of griller who prefers to eyeball your steaks for doneness or remove your chicken from the grill the second it reaches the perfect char, now might be the time to upgrade your skill set. And invest in a digital meat thermometer that can accurately tell you the internal temperature of your food.
Measuring the internal temperature of your meats after grilling will ensure that your food is safe to eat. Ideally, you want to measure the coolest part of the meat, which is often the thickest section. Stick the temperature probe into the thickest part of your meat, poking through. Then, slowly pull the probe back through the meat until the temperature begins to drop. You want to aim for the lowest temperature, so stop if you see the temp start to go back up. Compare that temperature against your meat chart to see if it’s done.
Pro Tip: Keep a downloadable food temperature chart like this food safety chart from FoodSafety.gov handy on your phone, or print out a copy and laminate it for use in the kitchen.
9. Let Your Grilled Meats Rest
It’s tempting to put a freshly grilled burger from tongs to bun or plate a juicy steak ASAP so you can enjoy it steaming hot. That approach can work for zucchini or corn on the cob, but not for grilled meats. If you’ve ever cut into a steak to see if it’s done to your liking, you know exactly why: all those delicious juices flow out the second the knife slices through.
For steaks like New York strip or filet mignon, you want the meat to sit for at least 3-5 minutes before slicing in. The same goes for chicken thighs and other dark-meat chicken. For a whole chicken or turkey, wait 10-20 minutes before carving. Resting meat before serving gives it time to reabsorb those mouthwatering juices. Keep in mind that meats will continue to cook for those few minutes, which is why you’ll see pro grillers remove meat from the grill just before it reaches temperature, rest it on a plate or cutting board, and then test the temperature right before serving.
10. How to Clean a Grill
A clean grill is the ideal starting point for BBQ bliss. This step seems like a no-brainer, but you’d be surprised how many dedicated BBQers “forget” to tackle the most essential follow-up task and leave their grill a mess. Luckily, cleaning your grill doesn’t have to be a big chore if you focus on regular maintenance. Just follow these steps to a pristine grill:
- Once the grill has cooled slightly, use a metal scraper or wire brush to loosen and remove food particles from your grill.
- Carefully use the scraper to push any liquids, grease, or leftover food into the grease pan/trough. Don’t forget to clean & empty the trough afterward! Next, you’ll want to clean the grates and flavor bars thoroughly.
How to clean grill grates:
- Combine a grease-cutting dish soap with warm water and thoroughly wet a rag or sponge. Gently clean the grill grates. (Note: If your grill is still hot, use oven mitts on your hands or place the rag/sponge in metal tongs to avoid burning your hands.) Rinse them with water and dry them with a clean towel or air-dry in the sun.
- Apply a light coat of oil to the grates. We love to use avocado oil for grilling maintenance because of its high smoke point.