If you’ve ever swooned over an influencer’s home jungle or pinned plant care tips, this blog is for you. You don’t need an emerald green thumb or a zillion plant shelves to get started with plant parenthood. If you’re looking for a family-friendly Earth Day activity or you just want to add a little extra green to your space any day, you can create your own DIY plant pots right in your kitchen.
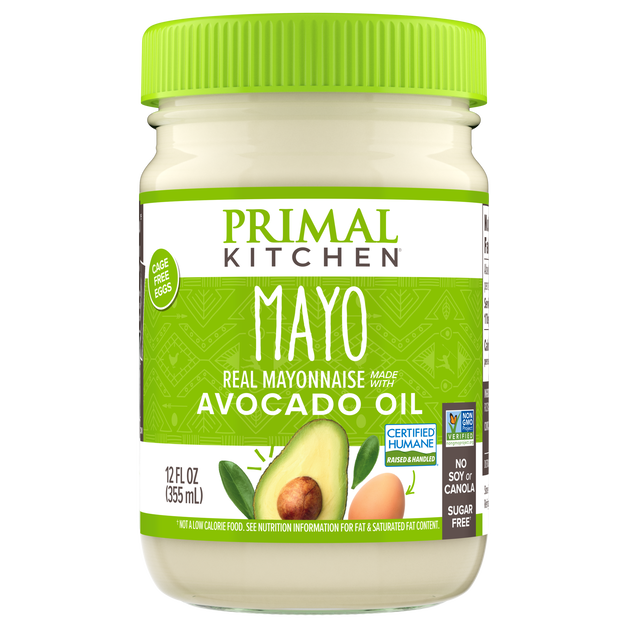
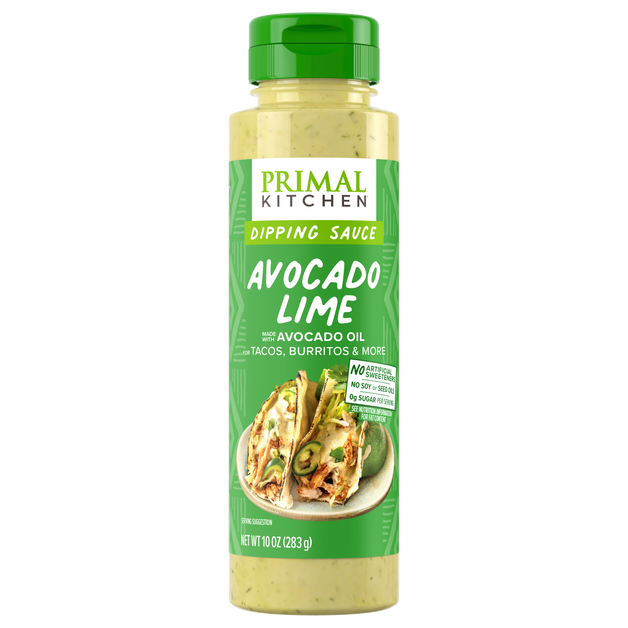
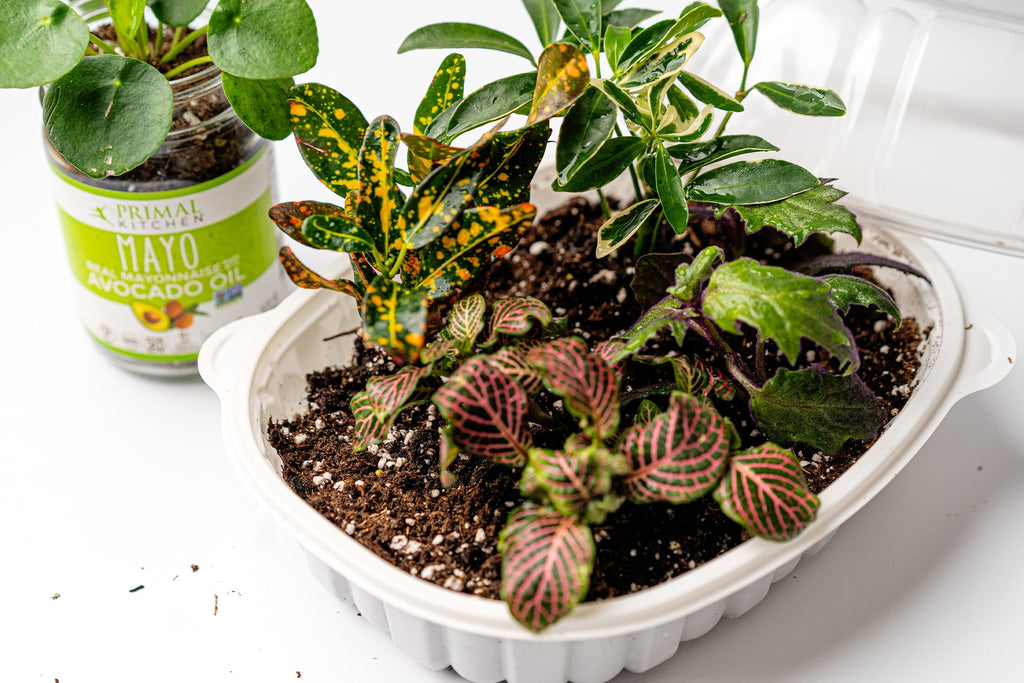
Give seeds a start using a cleaned-out rotisserie chicken container, then re-pot new blooms in repurposed Primal Kitchen Mayo jars. (Pro Tip: Our Easy Buffalo Chicken Dip recipe uses both chicken and mayo!) Microgreens are an easy start, along with herbs like mint, basil, and chives that produce a sizable yield. Use these beautifully aromatic herbs for garnishes, in vinaigrettes, or in salads for enhanced flavor and variety. You can also take clippings of existing plants and grow them in water or soil in a mason jar planter. These upcycled plantings look beautiful on a tabletop and make a great gift for a plant-loving friend.
Option #1: Growing Clippings in Water
Cleaned-out mayo jars or dressing bottles are perfect for propagating plants in water! Clippings of houseplants like pothos or philodendrons will thrive in just a few weeks.
- Start by thoroughly cleaning out a Primal Kitchen jar or bottle after you’ve used up the product. Fill the clean container with water, at least ¾ full.
- To propagate a clipping, start by clipping stems close to the new growth bump or bud called a ‘node.’
- Place the clipping in a container so the stem is submerged but any leaves remain above the water.
- Change the water every few days, and watch as a twisty labyrinth of roots grows below, ready to be replanted.
Option #2: Growing From Seeds
A rotisserie chicken container makes the perfect starter spot for seeds. In just a few weeks, you’ll have little plant babies ready for repotting.
- First, thoroughly clean your rotisserie chicken container (both top and bottom).
- Once the container is clean, carefully use scissors to create drainage holes, roughly half an inch wide, spaced a few inches apart along the bottom base. The amount of holes will vary based on the size of your container.
- Add nutrient-rich planting soil to the bottom tray of the rotisserie chicken container, being careful to keep it loose and not packed.
- Follow the directions on your seed packets for planting, as the spacing and instructions will vary depending on the seeds.
- Moisten the soil with a spray bottle of water, and then put the clear lid back over the container. Place the “greenhouse” in a sunny spot.
- Continue to spray with water a few times a week and watch your new plant babies spring to life!
- Repot once the leaves start to grow over and the dish feels crowded. You can re-pot into another container with drainage, or into a mayo jar using the directions below.
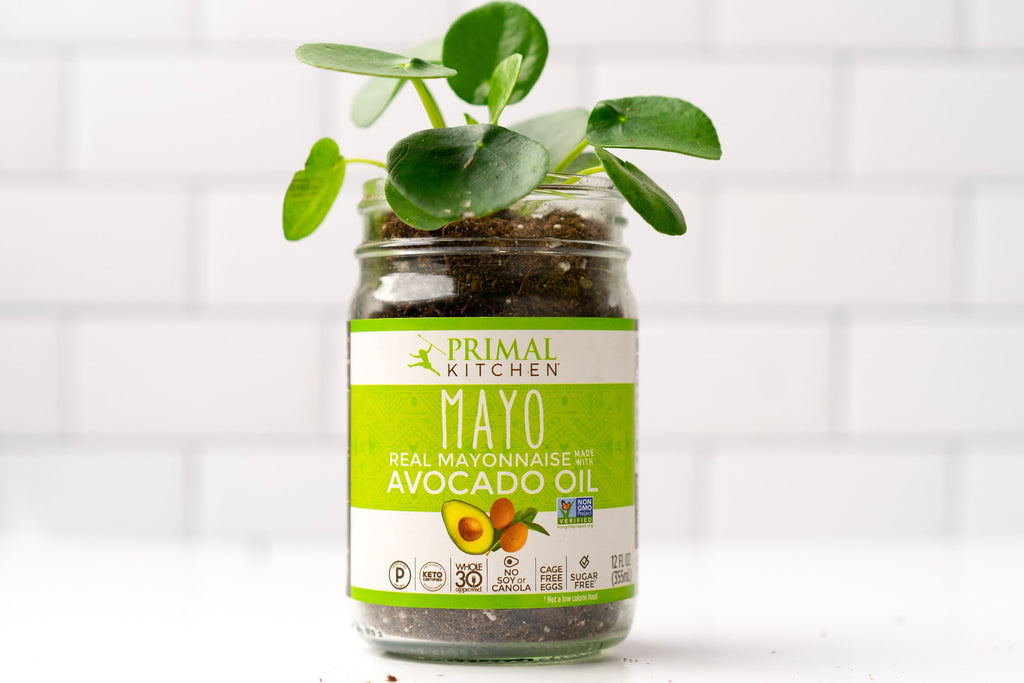
How to Re-pot Your Plant Babies:
Once your clippings begin to grow roots or your seeds sprout leaves, it’s time to give your plant a bit more room. Our mayo jars make great containers for new plantings while they are still small. Just follow these easy steps to give your plant babies a new home.
To transplant cuttings:
- Choose a healthy plant cutting with a small root system.
- Fill the jar about ¼-⅓ of the way with potting soil.
- Place the cuttings into the soil and fill until the roots are just covered over and the plant can stand on its own.
- Dampen the soil with water, and leave it in a sunny, warm place.
To plant the seedlings:
- Healthy plants with strong roots will grow in a jar, so check to see if the seedlings' leaves are starting to crowd the planter. If yes, they are ready to be replanted.
- Gently remove the seedling using a towel or butter knife, being careful to avoid the roots of nearby seedlings.
- Fill the mayo jar about ¼-⅓ of the way with potting soil.
- Place the seedling into the potting soil, filling the rest of the jar with more soil. Lightly moisten the soil, packing down gently as you go.